
Installing a dash camera in your car is one of the best ways to protect yourself from liability in case of an accident, document road trips, or monitor vehicle activity. But if your vehicle is equipped with airbags, especially side-curtain or pillar-mounted ones, improper installation can risk compromising the airbag system, potentially turning a safety feature into a hazard.
As vehicles become increasingly equipped with advanced safety systems, the importance of responsible modifications has never been higher. While dash cams offer invaluable evidence and peace of mind, installing them without understanding your car’s airbag layout could lead to unintended consequences.
This guide is tailored to help you install your dash cam safely, ensuring you preserve both your camera functionality and the integrity of your car’s safety features.
This article walks you through how to safely install a dash cam in a car with airbags, using tools and techniques that protect both your equipment and your vehicle’s safety systems.
Why Airbag-Aware Installation Matters
Modern cars often come equipped with side-curtain airbags located in the A-pillars, B-pillars, or roof lining. Installing a dash cam without considering these systems can interfere with airbag deployment, possibly causing injury or reducing the effectiveness of the airbags during a collision.
That’s why this guide emphasizes non-invasive, airbag-safe routing methods, secure but gentle mounting techniques, and accessories that won’t void your vehicle’s warranty or compromise safety.
DIY Walk-Through: Installing a Dash Cam Without Compromising Airbags
🔧 What You’ll Need:
- Trim removal tool set
- Mini USB hardwire kit (for cleaner wiring)
- Fuse tap kit
- Adhesive cable clips or wire-hiding tape
Step-by-Step Installation Instructions
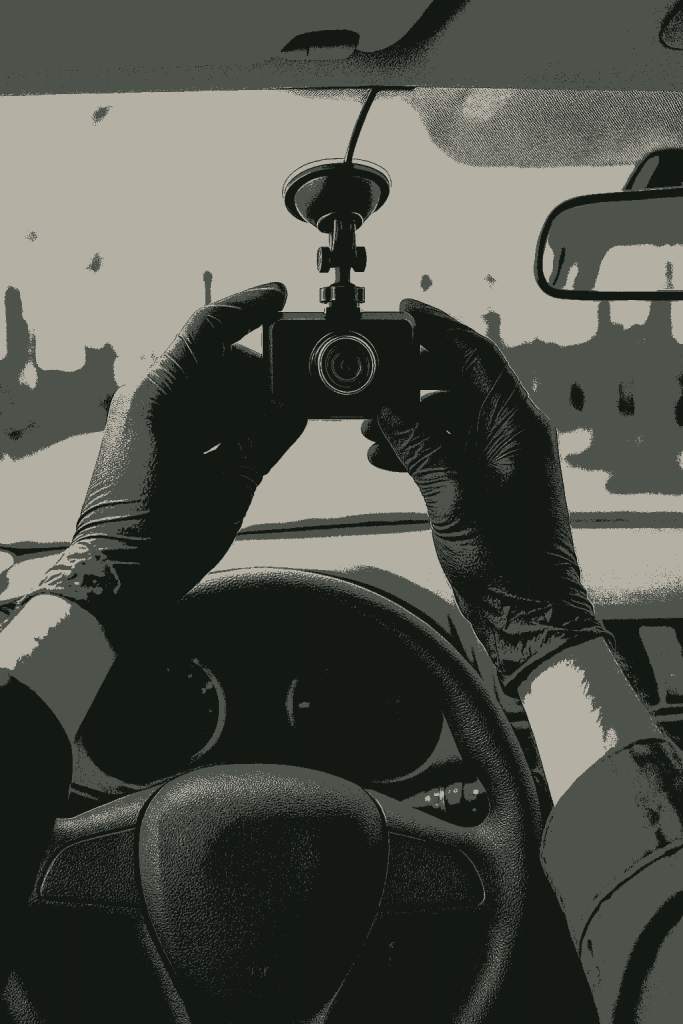
Step 1: Choose the Right Dash Cam Placement
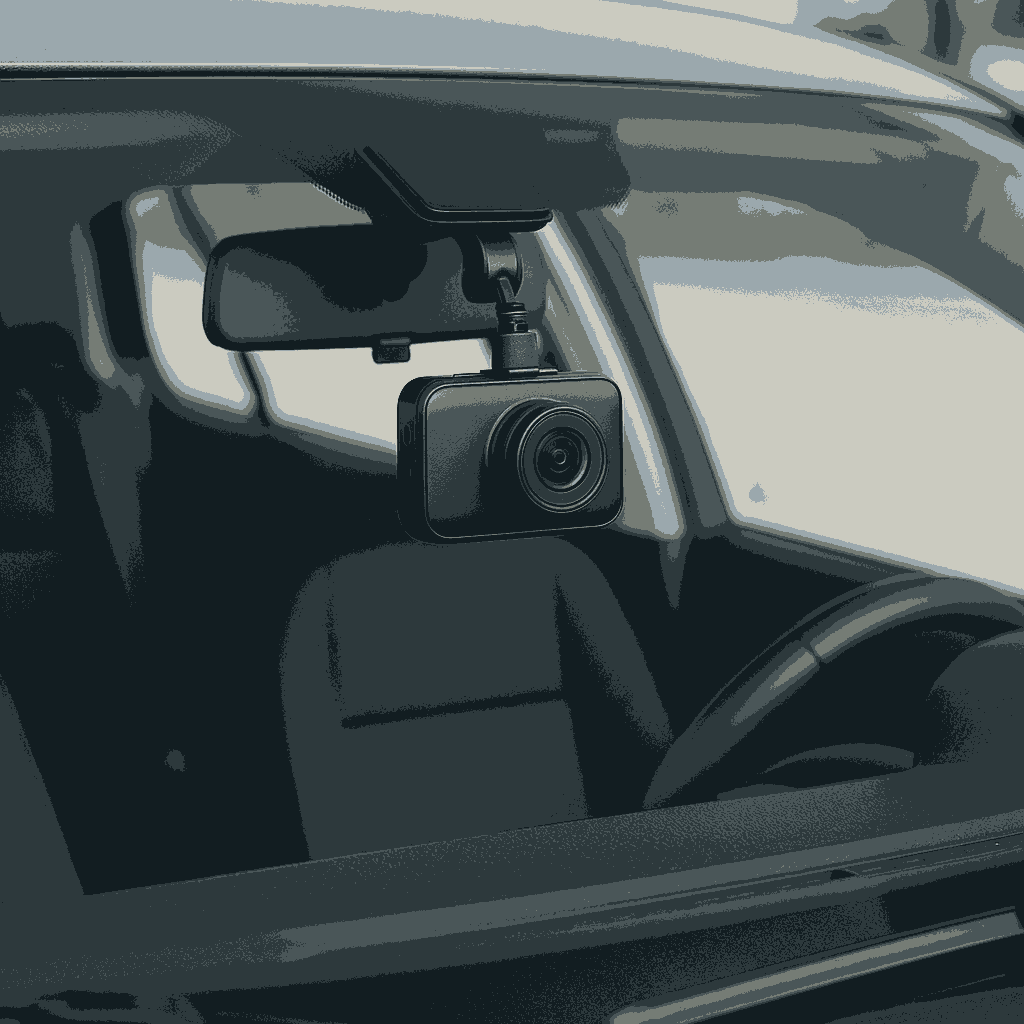
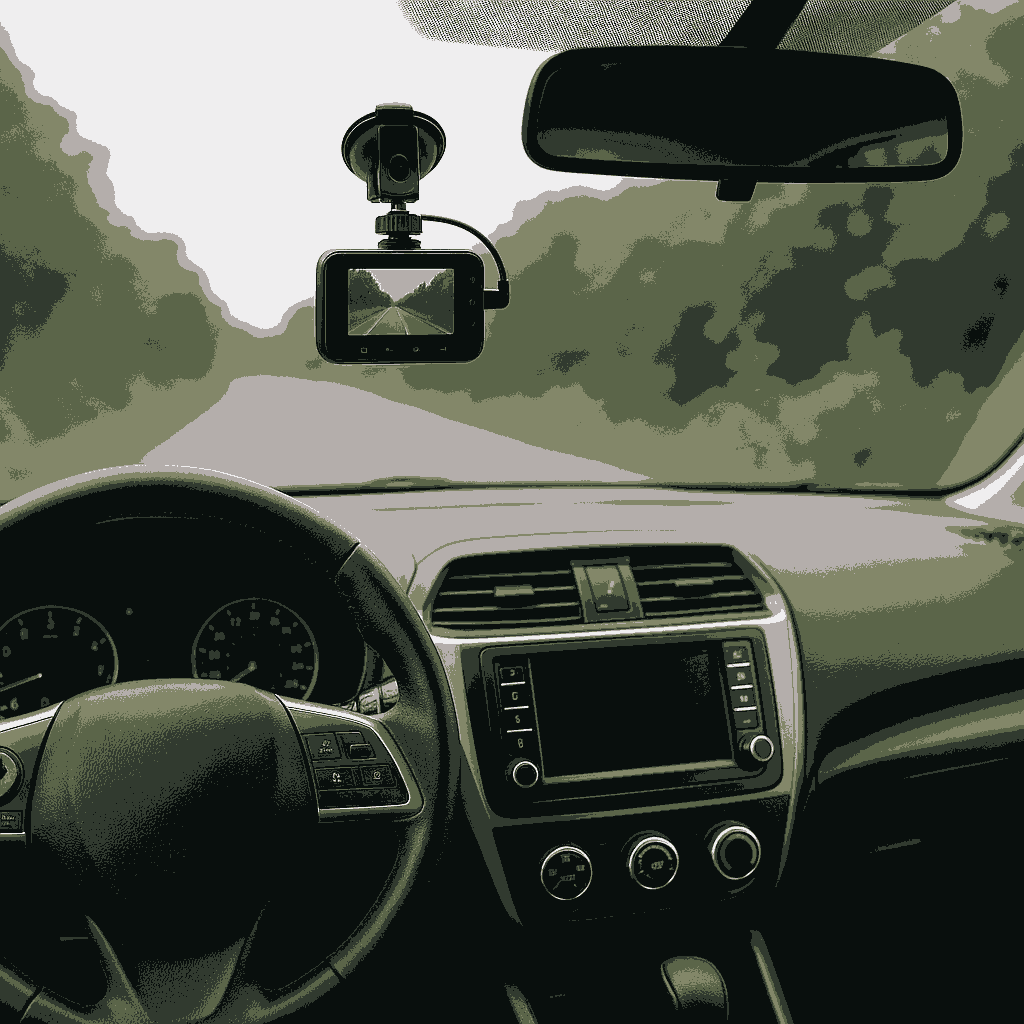
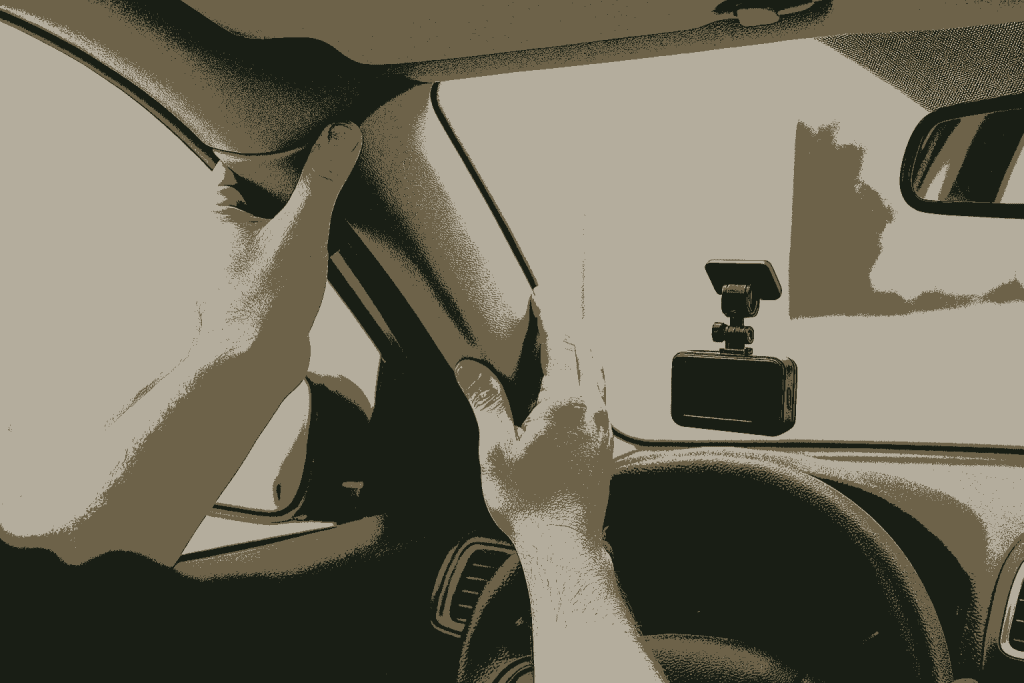
Position your dash cam just behind the rearview mirror, ideally on the passenger side, making sure it doesn’t obstruct your view and sits within legal placement guidelines in your area. It’s crucial to avoid placing the camera near airbags or airbag covers, especially in areas like the A-pillar where side-curtain airbags are often deployed.
Tip: For flexible angles without complicated mounting, consider using a dash cam like the Nextbase 422GW, which features a rotating lens. This allows you to adjust the camera angle without needing to reposition the mount.
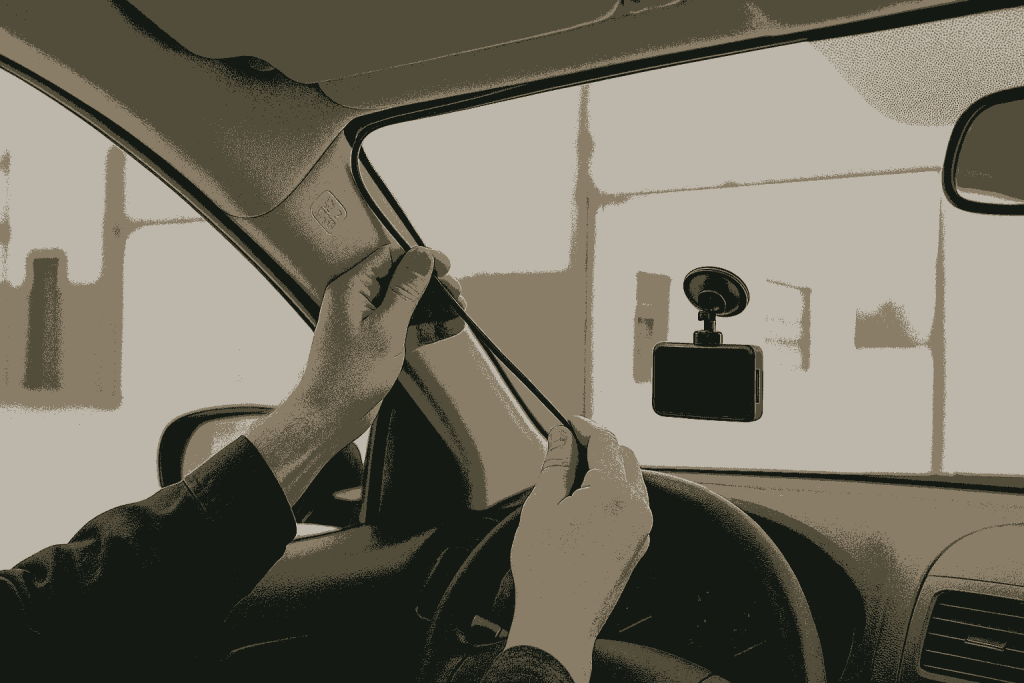
Step 2: Use Trim Tools to Gently Route Wires
Never shove cables into trim with your hands — this risks damaging airbag components. Use a MICTUNING Panel Pry Tool Set to carefully lift headliner and A-pillar trim, keeping the trim’s integrity intact.
Locate the airbag indicators (often labeled “SRS Airbag“) and route wires away from these areas. Instead of tucking wires into the A-pillar (which often houses airbags), run cables along the edge of the windshield under the headliner and down the door seal trim.
Pro Tip: Use adhesive-backed cable clips to keep wires in place without obstructing airbag deployment, ensuring a neat and safe installation.
Step 3: Hardwire the Dash Cam (Optional but Recommended)
Hardwiring your dash cam is a great way to enable features like parking surveillance mode and free up your 12V socket. It’s a cleaner solution for wiring and adds convenience.
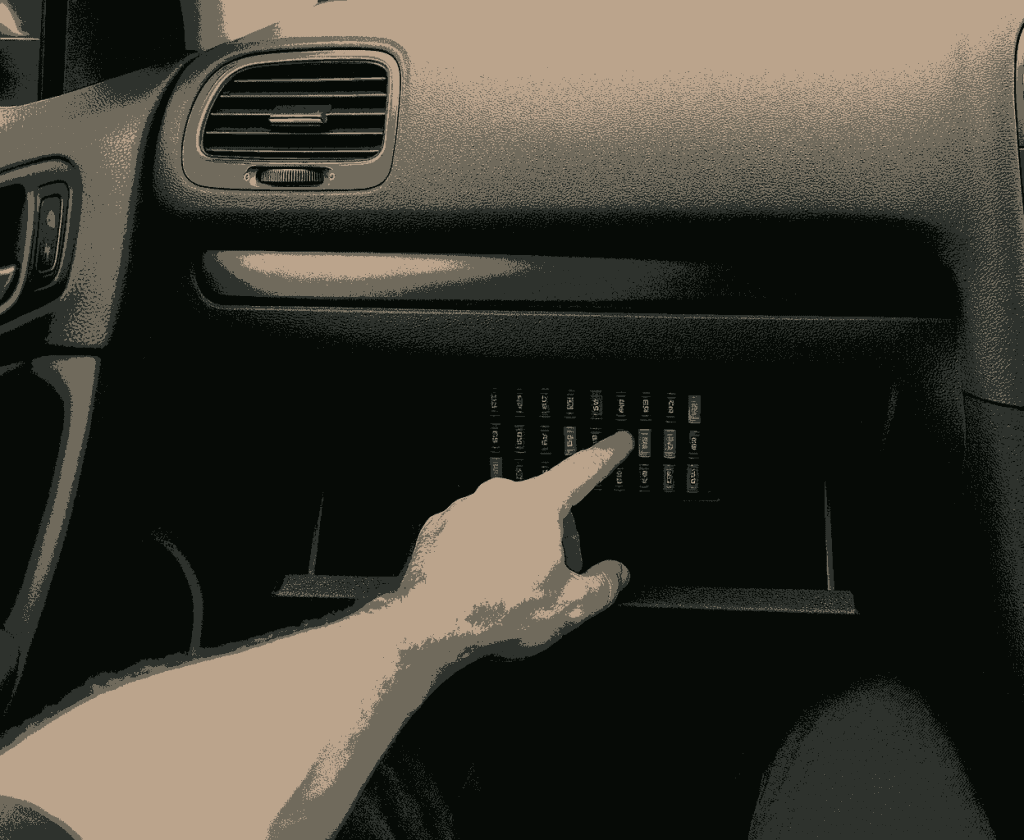
Locate your car’s fuse box (usually under the dashboard or in the glove box), and use a VIOFO HK3 ACC Hardwire Kit for seamless connection to the fuse box. The kit offers low-voltage protection, ensuring your dash cam won’t drain the car’s battery when the ignition is off.
For fuse connection, use a Mictuning Fuse Tap Kit to find an “ACC” (accessory power) fuse slot. This setup allows your dash cam to power on and off with your vehicle’s ignition.
Be sure to avoid wiring into the airbag circuit or fuses labeled “SRS” or “Airbag.” Tampering with these systems can disable your safety features and may violate warranty terms.
Step 4: Tidy Up the Installation
After routing and connecting the wires, use cable clips or heat-resistant tape to secure any loose cables. Reinstall any trim pieces carefully, making sure you don’t pinch or disrupt the wiring.
Test the dash cam by starting the car and checking that the camera powers on automatically. This ensures the system is functioning properly before you wrap up the installation.
Step 5: Set Up Dash Cam Settings
Once the physical installation is complete, format the memory card inside the dash cam and adjust key settings like resolution, loop recording, parking mode, and impact sensitivity to suit your needs.
For even more convenience, install the app for your dash cam model (such as Nextbase or VIOFO). This allows you to manage your camera’s settings, access footage, and make quick adjustments right from your smartphone.
Conclusion: Safety First, Every Time
Installing a dash cam is a worthwhile investment in personal safety and legal peace of mind. However, when working around modern car safety systems — especially airbags — caution is crucial. Improper installation can render airbags less effective, void warranties, or even cause injury during deployment.
By using the right tools, safe wire-routing methods, and high-quality accessories like the VIOFO Hardwire Kit and Mictuning Fuse Taps, you can enjoy all the benefits of a dash cam without putting your safety systems at risk.
A little extra care during installation can save you a lot of trouble down the road. Beyond safety, a clean and professional-looking dash cam setup enhances your vehicle’s appearance and functionality.
Whether you’re a daily commuter or a weekend road tripper, this added layer of protection offers peace of mind for every journey.
If you’re comfortable with this level of DIY, you might also be ready to take on basic vehicle maintenance tasks. Check out our article on How to Replace Front Brakes, Pads, and Rotors for a step-by-step guide to another critical car safety upgrade — ensuring your stopping power matches your driving confidence.