
Restoring Damaged Wheels
Curb rash and scratches on alloy wheels are a frustrating but common problem. Whether caused by a tight turn or a moment of inattention while parking, this kind of cosmetic damage can dull the look of even the most polished vehicle.
While shops can charge hundreds for repair or refinishing, the good news is that most wheel damage—provided it’s superficial—can be fixed at home with a modest investment in tools, materials, and time.
This article walks through a straightforward, professional-grade method to restore damaged wheels. By following these steps and using a few select products, you can achieve clean, smooth results that rival shop-quality finishes.
Step-by-Step: How to Fix Curb Rash and Wheel Scratches
Step 1: Assess the Severity
Check the wheel to confirm the damage is purely cosmetic. If there are cracks, bends, or compromised structure, do not attempt a DIY fix—take the wheel to a professional. If the damage is limited to the outer lip or face of the wheel and only affects the surface layer, you’re good to proceed.
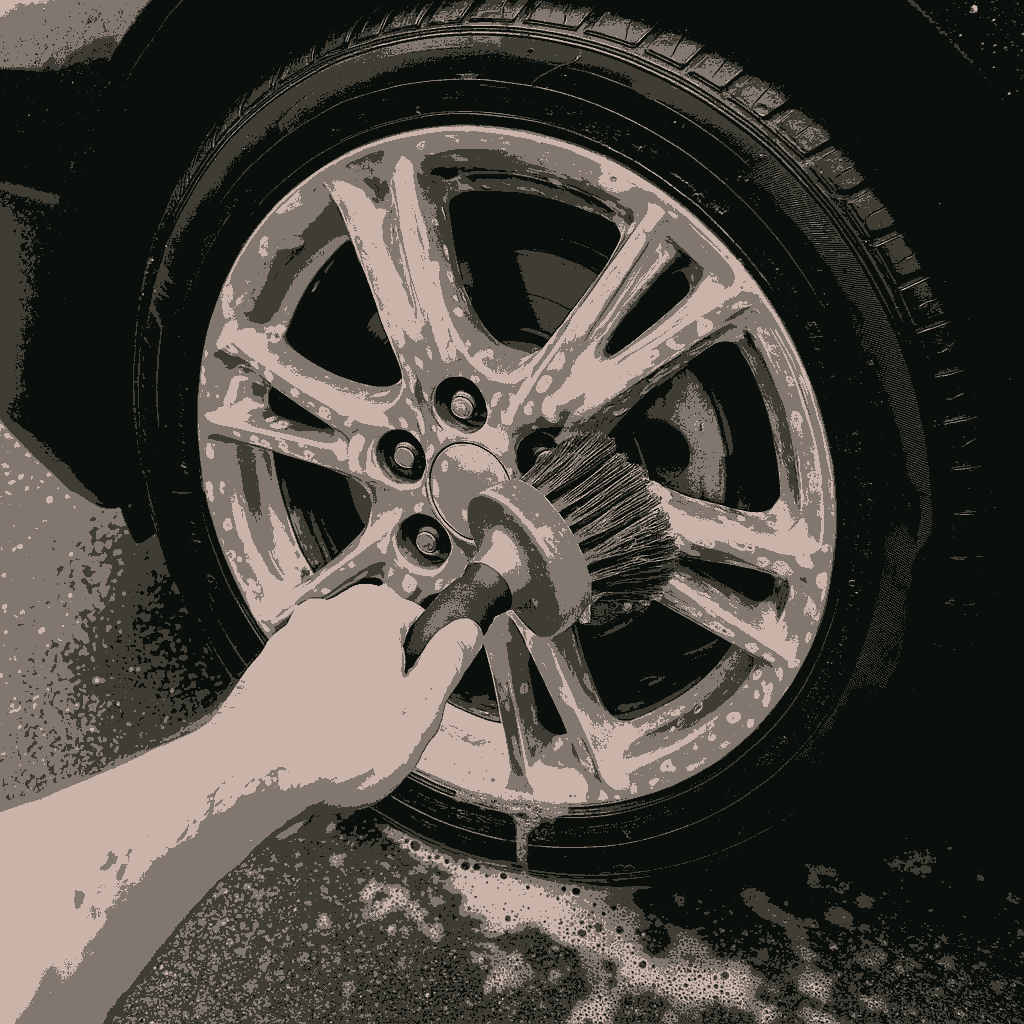
Step 2: Clean the Wheel
Remove all contaminants from the surface. Spray the area with Meguiar’s Ultimate All Wheel Cleaner, or a suitable equivalent, allowing it to foam and penetrate brake dust. Use a wheel-safe brush to scrub the entire face and the damaged section thoroughly. Rinse well and dry completely.
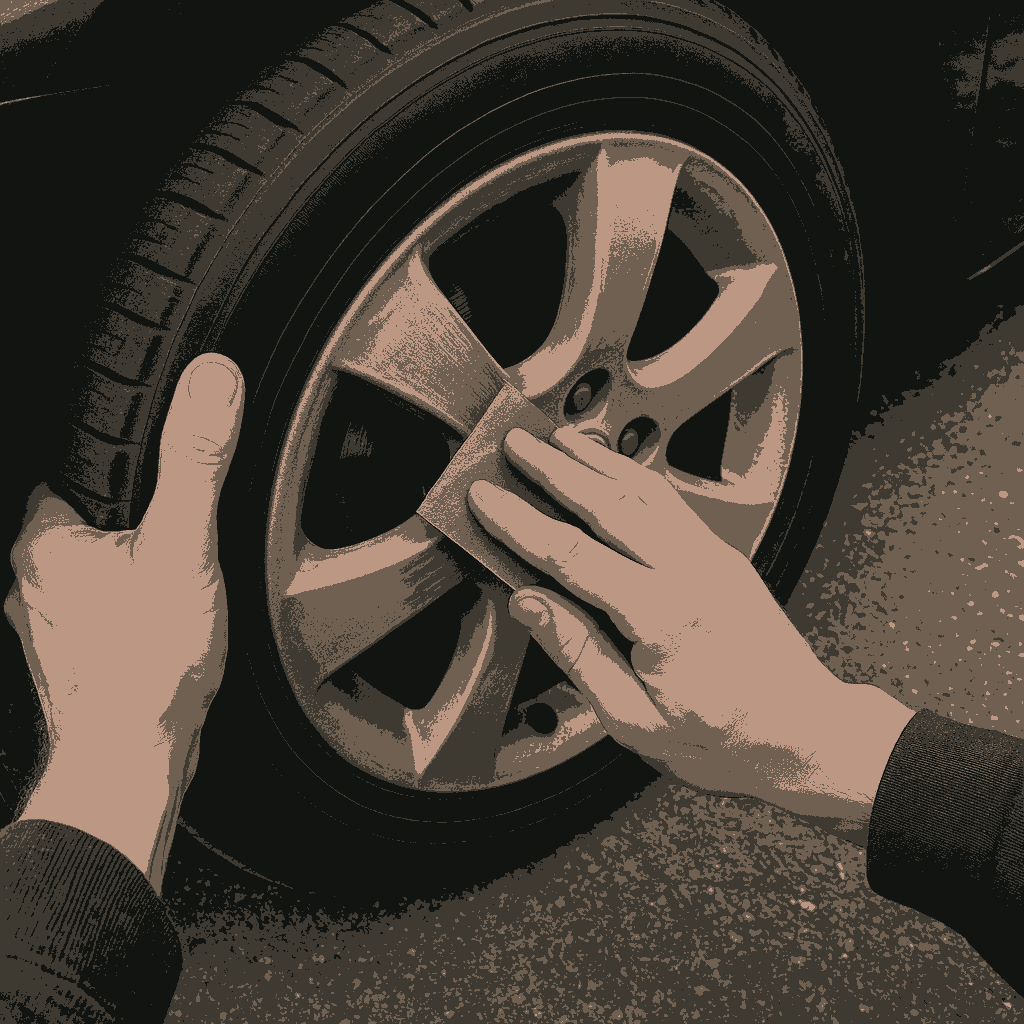
Step 3: Sand the Damaged Area
Begin with 240-grit sandpaper to remove raised metal edges and gouges caused by curb impact. Sand until the surface is smooth and the transition between damaged and undamaged areas is feathered. Progress to 400-grit, then 800-grit sandpaper to refine the area and prep it for filler or primer. Keep your sanding strokes consistent and blend out rough edges to ensure an even finish.
Step 4: Fill Deep Gouges
If the damage left visible indentations or pits, fill them using a durable metal-reinforced filler. Apply Bondo Metal Reinforced Filler with a plastic spreader, pressing it into all crevices. Smooth out the surface as much as possible while it’s pliable. Once dry—usually after about 30 minutes—sand the area flush with 400- and then 800-grit sandpaper. At this point, the damaged zone should be level and visually blended with the wheel. Refer to the NAINC sanding and polishing guide for additional tips.
Step 5: Mask the Wheel and Tire
Use painter’s tape and masking paper to protect the tire and the portions of the wheel that don’t require repair. Carefully trace the contours of the spokes and wheel lip to isolate the repair area. Clean masking here will minimize overspray and maintain a sharp finish.
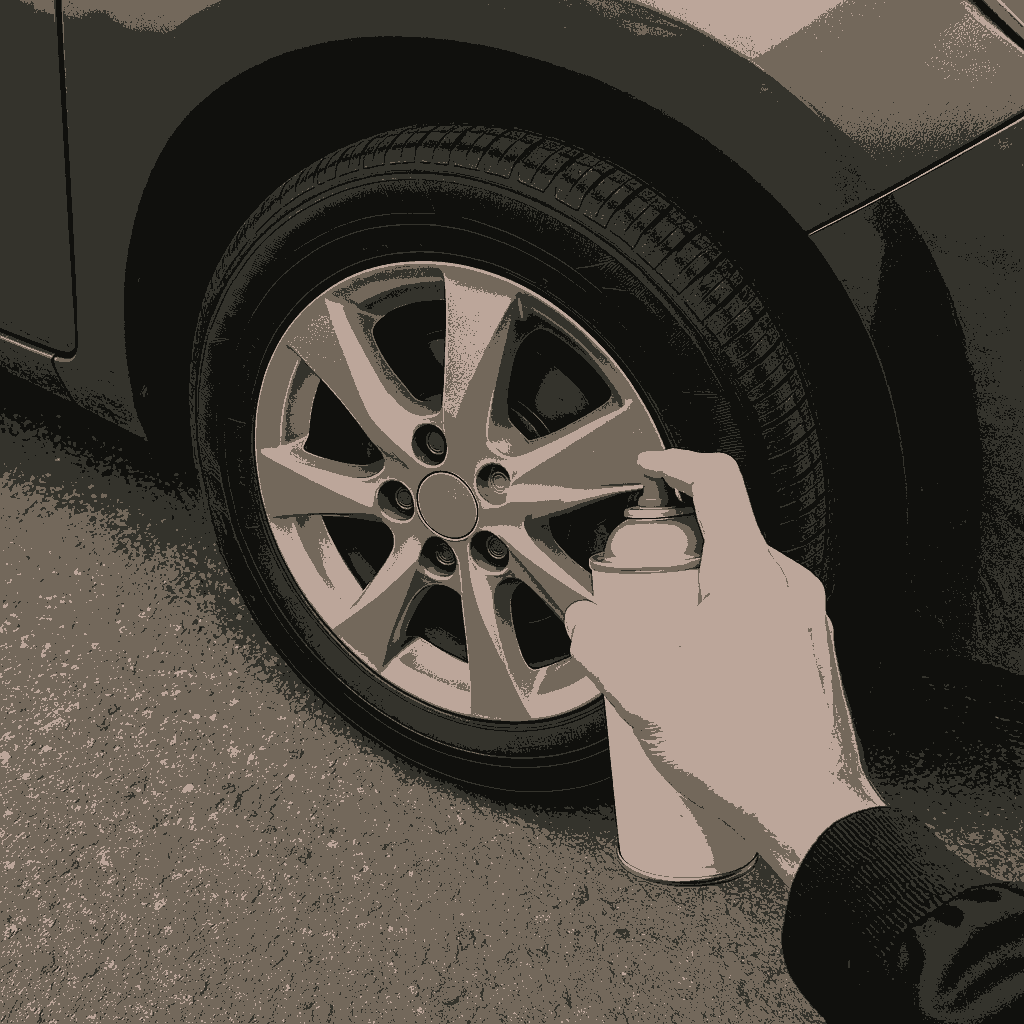
Step 6: Prime the Surface
Spray a metal-compatible primer in light, controlled passes. Two to three coats of Rust-Oleum Automotive Sandable Primer will build up a solid base. Allow each coat to dry before applying the next. After curing, wet-sand the primer with 800- to 1000-grit sandpaper to ensure a smooth base for paint.
Step 7: Paint
Use a color-matched wheel paint to restore the original finish. You can usually find paint codes from the vehicle manufacturer or use a universal silver or black finish if exact matching isn’t critical. Apply three to four light coats, allowing proper drying time between each pass. Hold the can 6 to 8 inches away for even coverage, and avoid heavy spraying to prevent runs.
Step 8: Apply Clear Coat
Once the paint has fully dried, apply two or three coats of clear coat for durability and shine. This not only enhances the appearance but also seals the paint against road salts, grime, and future abrasions. Let the clear coat cure undisturbed for at least 24 hours for best results.
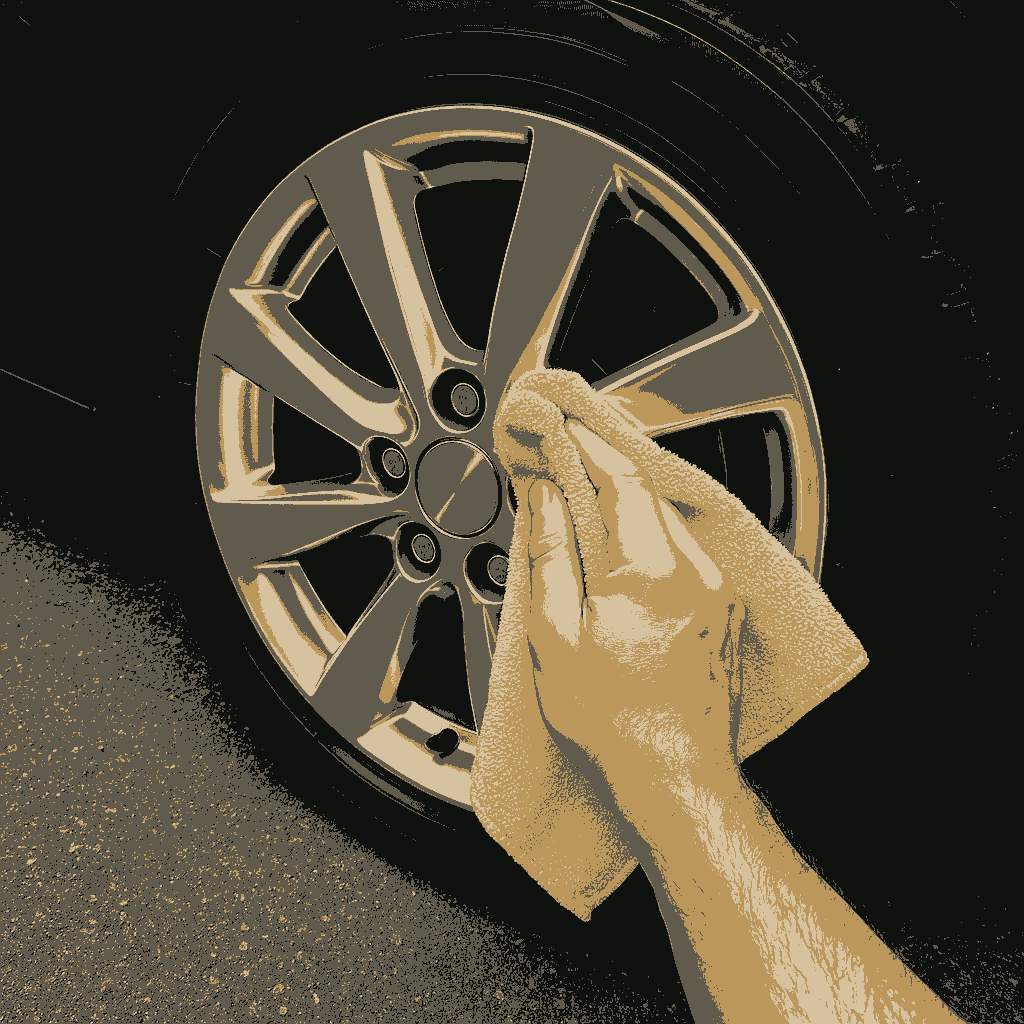
Step 9: Buff and Polish
After the repair has fully cured, lightly polish the area to blend the repaired section with the rest of the wheel. A product like Chemical Guys VSS Scratch and Swirl Remover works well for this final step. Apply with a microfiber cloth using circular motions. This will restore gloss and hide any remaining texture differences between the original and repaired areas.
Final Thoughts
DIY wheel repair is a manageable, cost-effective solution to fix curb rash and surface scratches. With proper preparation and quality materials, you can achieve professional-looking results without the need for a shop visit.
The key steps—thorough cleaning, precise sanding, careful application of filler and paint, and final polishing—work together to restore the appearance and value of your wheels.
If you’re looking to further improve your vehicle’s condition, don’t stop at the wheels. Check out our full guide on how to fix a windshield crack using Permatex Windshield Repair Kit.