
Cracked windshields are one of the most common and frustrating issues vehicle owners face. Whether caused by a stray pebble or sudden temperature fluctuation, a crack in the windshield can quickly escalate from a minor inconvenience to a serious safety hazard. Fortunately, with the right tools and a bit of patience, you can repair small cracks and chips yourself—saving both time and money.
One of the most trusted solutions for DIY windshield repair is the Permatex Windshield Repair Kit. Designed for straightforward, effective application, this kit enables drivers to restore the structural integrity and appearance of their windshield without costly professional intervention.
In this comprehensive guide, we’ll walk you through how to fix a windshield crack using the Permatex kit, and highlight a few complementary tools to help you achieve professional-quality results.
Understanding the Damage: When to Repair vs. Replace
Before diving into the repair process, it’s essential to assess whether the damage can be fixed using a DIY kit. The Permatex Windshield Repair Kit is best suited for bullseye damage, star-shaped cracks, and chips that are less than 1.25 inches in diameter and not within the driver’s direct line of sight.

If the crack is longer than six inches, spans multiple points, or affects both layers of laminated glass, a full windshield replacement is likely necessary. But for small, isolated damage, a well-executed repair can restore visibility and prevent the crack from spreading.
Step-by-Step Guide to Repairing a Windshield Crack
Step 1: Gather Your Materials
Aside from the Permatex Windshield Repair Kit, which includes a resin applicator, curing strips, and a pedestal, you’ll need a few additional items to ensure a clean, effective repair:
- Glass cleaner: To remove dirt and debris from the windshield surface.
- Razor blade or glass scraper: For leveling the cured resin post-application.
- Microfiber cloth: To dry and polish the glass without scratching.
For a deeper clean, consider using Invisible Glass Premium Glass Cleaner, which removes residues more effectively than household glass cleaners and leaves no streaks—ensuring optimal adhesion of the repair resin.

Step 2: Prepare the Damaged Area
Begin by cleaning the area around the crack thoroughly. Spray the affected section of the windshield with glass cleaner and wipe with a microfiber cloth. It’s crucial that the area be dry and free from debris before proceeding.
Next, use the razor blade provided in the Permatex kit—or a precision glass scraper like the Titan Tools Multi-Purpose Razor Scraper—to gently remove any loose glass fragments from the damaged area. Be cautious not to worsen the crack during this step.
Once clean and dry, park the vehicle in a shaded area. Direct sunlight can cause the resin to cure prematurely during the setup process.

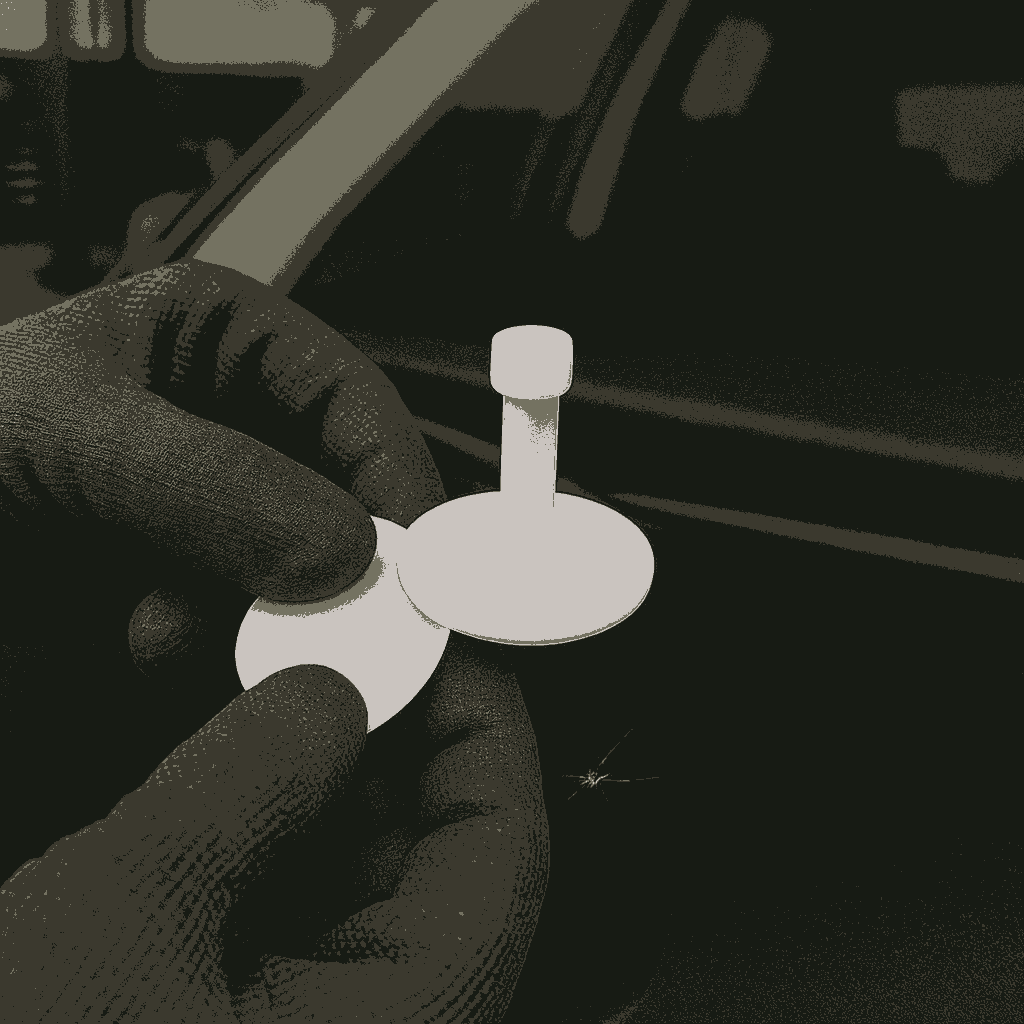
Step 3: Set Up the Adhesive Disc and Pedestal
The Permatex kit includes an adhesive disc and a pedestal to facilitate resin injection. Peel the backing from the adhesive disc and align it precisely over the center of the crack. Press firmly to ensure full contact with the glass.
Next, attach the resin pedestal to the disc, making sure it’s perpendicular to the windshield surface. This component will guide the resin directly into the crack and ensure even distribution.
Step 4: Inject the Resin
Cut the tip of the resin tube provided in the kit, and insert it into the pedestal. Slowly squeeze the tube to inject the resin into the crack. You’ll want to apply steady, firm pressure until the pedestal chamber is full.
To help the resin settle into the crack, you can gently tap the inside of the windshield directly behind the crack using your finger or a soft tool. This can help dislodge any air bubbles and promote deeper penetration.
For especially stubborn cracks or cooler working conditions, using a Milton S-699 Blow Gun with gentle air pressure (if available) can help remove trapped air and improve resin flow—but be cautious not to overdo it.
Step 5: Cure the Resin
Once the resin has filled the crack, place one of the curing strips (included in the kit) directly over the area. Press gently to eliminate bubbles and ensure full contact with the resin. Move the car into direct sunlight or use a UV lamp to cure the resin. This process typically takes 15–30 minutes, depending on sunlight intensity.
Once fully cured, the resin will harden, bonding the glass and halting any further spreading of the crack.

Step 6: Remove Excess Resin
After the resin has cured completely, peel off the curing strip. Use a razor blade or your glass scraper to carefully shave away any excess resin so the surface of the glass is smooth and flush.
At this point, the crack should be noticeably less visible. The repair not only improves aesthetics but also restores structural integrity and prevents the damage from spreading over time.
Final Clean and Inspection
After completing the repair, clean the windshield again with your glass cleaner and a microfiber cloth. Check the repair area from multiple angles to ensure the crack is sealed and there are no air pockets.
It’s important to note that while the Permatex Windshield Repair Kit offers an excellent solution for small cracks, the visibility of the crack may not disappear entirely. However, the primary goal of the repair is to stabilize the glass and prevent further damage—a goal this kit reliably achieves.

Key takeaways:
- Always clean the damaged area thoroughly before beginning the repair.
- Work in shaded conditions to prevent premature curing of the resin.
- Allow sufficient curing time and always inspect your work post-repair.
With a little effort and the right products, you can maintain a clear view of the road ahead—without the costly trip to the auto glass shop.
Want to keep learning? Don’t miss our detailed guide on how to change the front brake pads and rotors on your car.