
A failing power steering pump can make your vehicle difficult to steer, cause whining noises while turning, or even lead to fluid leaks under the hood. If you’re experiencing any of these issues, replacing the power steering pump might be necessary. While many shy away from tackling this job themselves, it’s entirely possible with the right tools, preparation, and guidance.
This guide walks you through how to replace a power steering pump safely and efficiently, helping you to restore smooth steering without the need for expensive labor from your local automotive repair shop.
Symptoms of a Bad Power Steering Pump
Before diving into the replacement process, it’s important to confirm whether your power steering pump is actually the issue. Common signs include:
- Whining or groaning noises when turning the wheel
- Stiff or difficult steering
- Visible power steering fluid leaks
- Bubbles in the power steering reservoir
- A burning smell from the engine bay
Once these symptoms are confirmed and you’ve ruled out other issues like a damaged steering rack or low fluid levels, replacing the power steering pump is a smart next step.
Tools and Materials You’ll Need
Before starting the job, gather the following:
- Socket and wrench set
- Power steering pulley puller (vehicle-dependent)
- Drain pan
- Jack and jack stands
- Line wrenches
- New power steering pump (OEM recommended)
- Power steering fluid
- Safety glasses and gloves
You’ll also need thread sealant or Teflon tape, and optionally, a Powerbuilt Power Steering Pulley Remover and Installer Kit to make pulley handling easier if your vehicle requires it.
Step-by-Step Power Steering Pump Replacement
1. Prepare Your Workspace and Vehicle
Park the car on a level surface and engage the parking brake. Disconnect the negative battery terminal to prevent accidental shorts. Use a jack and jack stands to raise the front of the vehicle if needed to access components easily.

2. Locate the Power Steering Pump
Consult your owner’s manual to locate the power steering pump. It’s typically found near the front of the engine and driven by a serpentine belt.
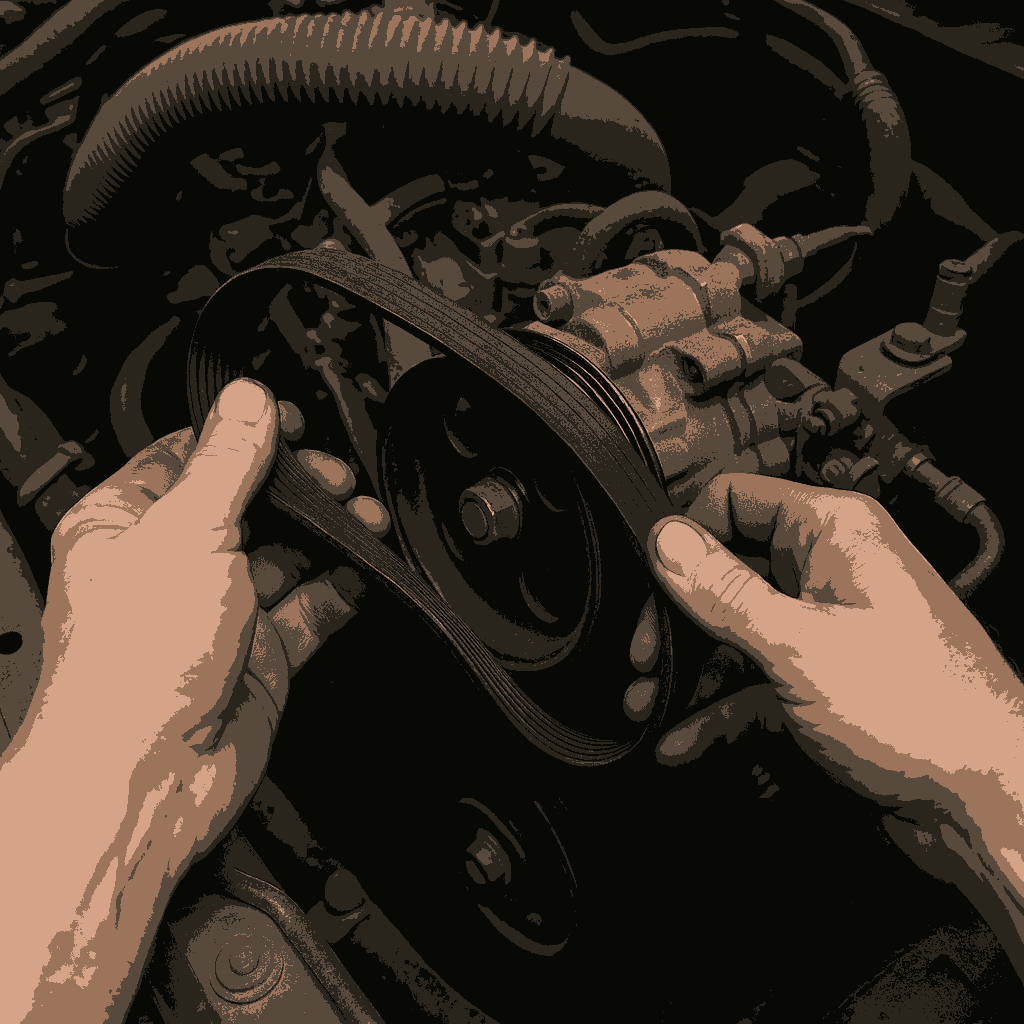
3. Remove the Serpentine Belt
Use a serpentine belt tool or a long-handled wrench to release tension from the belt tensioner. Slide the belt off the power steering pump pulley. Be sure to remember or photograph the belt routing for reinstallation.
4. Drain the Power Steering Fluid
Place a drain pan under the pump. Disconnect the low-pressure return hose and let the fluid drain completely. Cap the hose to prevent residual leaks. Remove the high-pressure line using a line wrench to avoid rounding off the fitting. Use Permatex Thread Sealant with PTFE when reinstalling the high-pressure line later to ensure a leak-free seal.

5. Remove the Pump Pulley (if applicable)
Some vehicles require removing the pulley from the old pump before unbolting it. Use the Powerbuilt Pulley Remover mentioned earlier, and carefully pull the pulley off the shaft. Set it aside for reuse.
6. Remove the Old Pump
Unbolt the pump mounting bolts and remove the pump from the bracket. Some pumps may require wiggling or rotating for clearance. Take care not to damage nearby components during removal.
7. Install the New Power Steering Pump
Position the new pump onto the bracket and secure it with the original mounting bolts. Torque them to spec according to your vehicle’s repair manual. Reinstall the high-pressure line using thread sealant, and reconnect the return hose using new hose clamps if necessary.
If the pulley was removed, reinstall it using a pulley installer tool. Don’t hammer the pulley onto the shaft — this can damage the new pump.

8. Reinstall the Serpentine Belt
Reroute the belt according to the diagram or photo you took earlier. Use the belt tool to move the tensioner and slide the belt back over the pump pulley.
9. Refill and Bleed the System
Refill the reservoir with the recommended power steering fluid — be sure to check your vehicle manual. For general use, Prestone Power Steering Fluid with Stop Leak is a reliable option that also helps prevent future leaks.
Start the engine and slowly turn the steering wheel lock-to-lock several times to purge air from the system. Top off the fluid as necessary. Watch the reservoir for bubbles and add fluid until no more air is visible.

10. Check for Leaks and Test Drive
Inspect the high and low-pressure connections for leaks. If all looks good, lower the vehicle, reconnect the battery, and take a short test drive. Listen for abnormal noises and check the fluid level again afterward.
Replacing a power steering pump isn’t just for professional mechanics. With the right tools, a bit of patience, and careful attention to each step, you can restore precise, noise-free steering in a few hours. Doing the job yourself can save hundreds in labor costs, and helps you better understand your vehicle’s systems.
Explore More DIY Auto Repair Guides
If you found this tutorial helpful, be sure to explore our other hands-on repair guides on the site. From fixing rust damage to upgrading your vehicle’s lighting, our step-by-step articles are designed to help you take control of your car repairs and upgrades with confidence.