
Lowering your car with coilovers is one of the most effective ways to improve its handling, stance, and overall performance. Unlike lowering springs or cut springs, coilovers offer the advantage of adjustability—giving you control over ride height, damping, and rebound.
Whether you’re aiming for a street performance setup or a show-quality drop, learning how to install and adjust coilovers properly is essential.
This guide will walk you through everything you need to know—from selecting the right coilovers to completing the installation at home. If you have basic mechanical skills and the right tools, this can be a rewarding weekend project.
What Are Coilovers?
A coilover is a suspension system that combines a coil spring and a shock absorber into a single unit. Coilovers are height adjustable, and many models also offer damping adjustments. They replace your stock suspension and allow you to fine-tune how your car looks and performs.
There are two main types:
- Full-bodied coilovers: Replace the entire strut assembly.
- Sleeve-style coilovers: Fit over existing shocks (less common and often less reliable).
For this guide, we focus on full-bodied coilovers, which are the standard for serious lowering and performance gains.
Tools and Products You’ll Need
Before you begin, gather the necessary tools:
- Floor jack and jack stands
- Lug wrench
- Socket and wrench set
- Torque wrench
- Breaker bar
- Coilover spanner wrench (usually included with your coilovers)
- Penetrating oil (e.g., PB B’laster Penetrating Catalyst for stuck bolts)
- Anti-seize lubricant
Additionally, you may want to use a camber alignment tool or take your vehicle for a professional alignment after the install.
Step-by-Step Guide to Lowering Your Car with Coilovers
Prepare the Vehicle
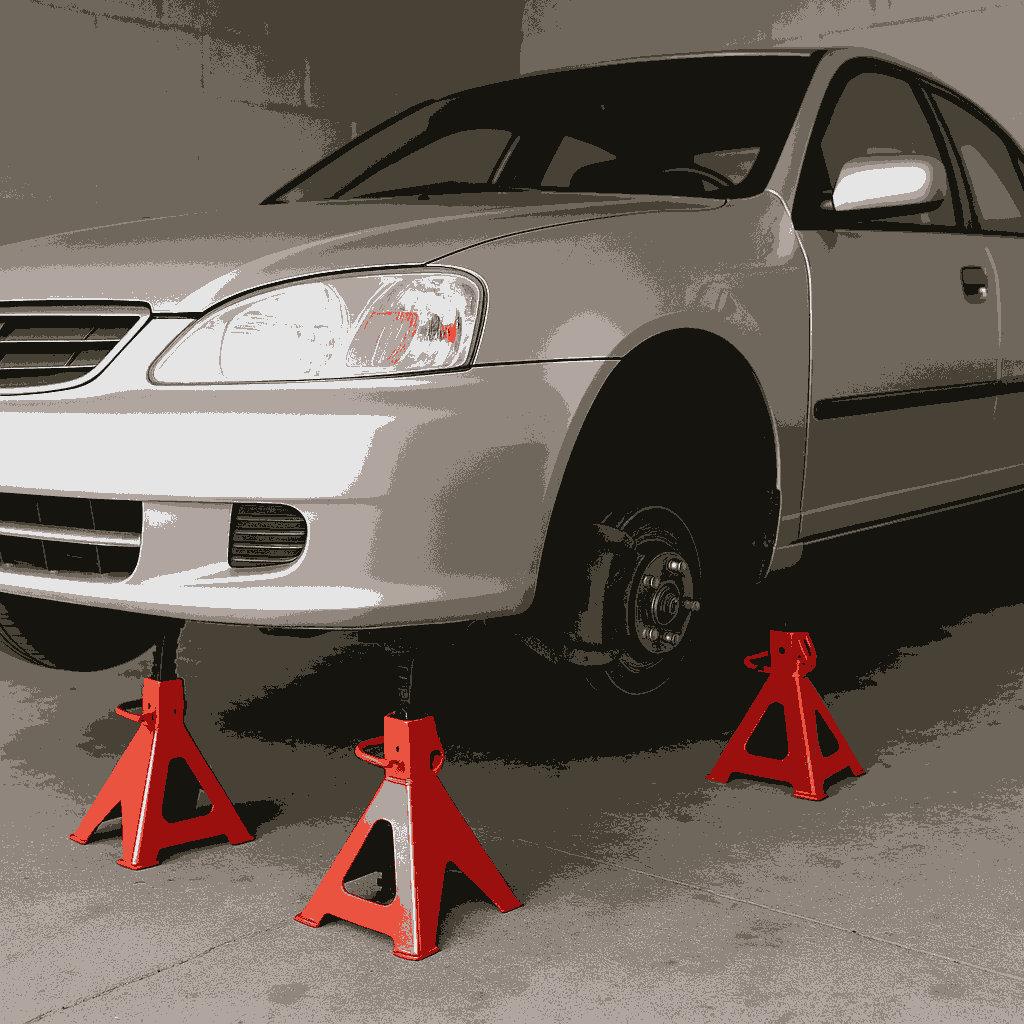
Park on a flat, level surface and engage the parking brake. Loosen the lug nuts on all four wheels while the car is still on the ground.
Use a floor jack to lift the car and place it securely on jack stands.
Remove the Wheels and Stock Suspension
Remove the wheels to access the suspension. Spray all suspension bolts with penetrating oil and let it soak for a few minutes.
Unbolt the sway bar links, lower control arm bolts, and top strut mounts (found in the engine bay or trunk).
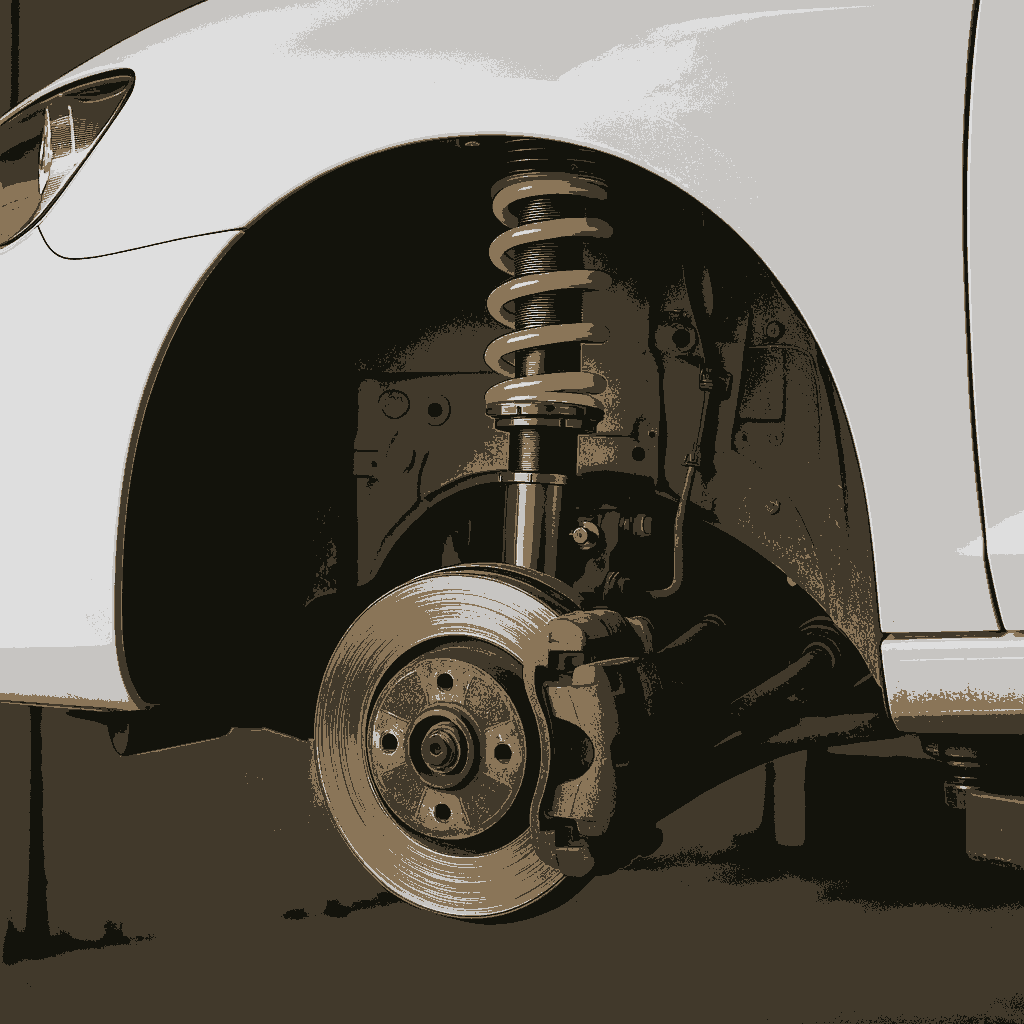
Carefully remove the entire strut assembly.

Install the Coilovers
Insert the new coilover assembly into the strut tower and loosely install the top mount nuts.
Align the bottom of the coilover with the knuckle or lower control arm and insert the bolts. Torque them to factory specs using a torque wrench.
Reconnect sway bar end links and any brake line brackets.
If your coilovers don’t come pre-assembled, refer to the manufacturer’s instructions. Quality kits like the BC Racing BR Series Coilovers arrive ready to install and provide easy adjustability with solid build quality.

Adjust the Ride Height
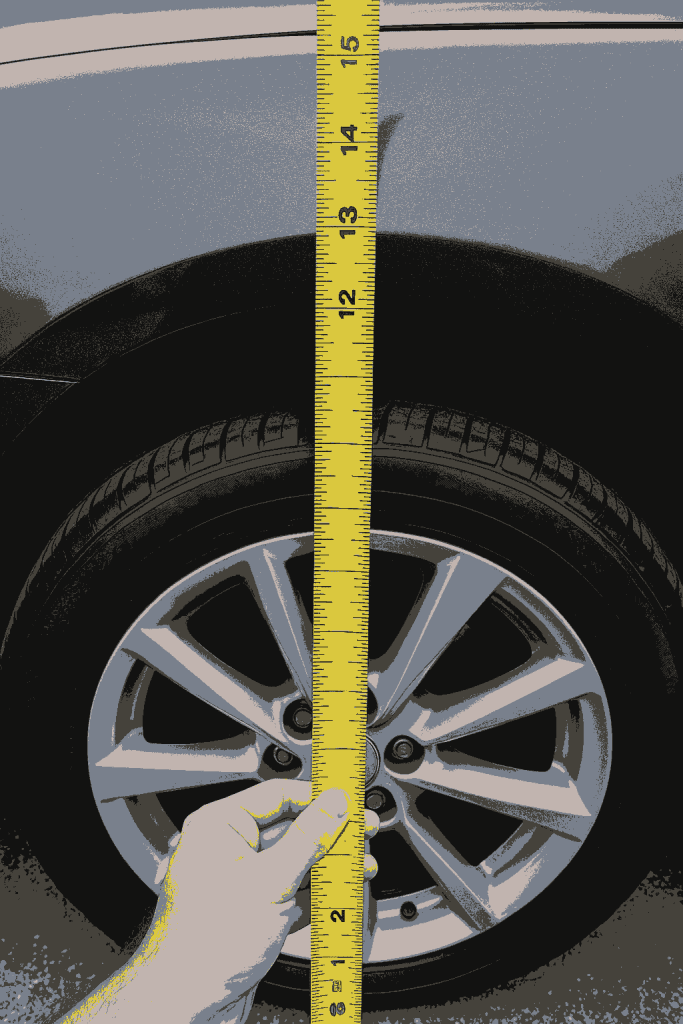
With the coilovers installed, use the included spanner wrenches to set your desired ride height. Remember to match left and right measurements for balance.
Ideally, measure from the center of the wheel to the fender on each corner to get consistent height.
Avoid going too low initially. A moderate drop will help avoid issues like tire rub or bottoming out. You can always adjust later.
Check for Clearance and Tighten Everything
Spin the wheels by hand to check for rubbing or contact.
Torque all suspension bolts and the top mount nuts to manufacturer specs.
Apply Permatex Anti-Seize Lubricant on the threaded sleeves to prevent corrosion and make future adjustments easier.
Reinstall Wheels and Lower the Car
Reinstall your wheels and torque the lug nuts in a star pattern.
Carefully lower the car off the jack stands.
Once the car is back on the ground, check ride height again. If adjustments are needed, repeat the process. Let the suspension settle by driving around the block, then re-measure.

Final Adjustments and Alignment
Once you’re happy with the height, it’s crucial to get a proper alignment. Lowering your car changes the camber, caster, and toe angles, which can cause uneven tire wear and poor handling if left unchecked.
If you’re doing a DIY alignment, a product like the TENUL Alignment Camber Gauge Tool can help you dial in approximate specs, but a professional alignment is highly recommended.
Lowering your car with coilovers is one of the best modifications you can make for performance, aesthetics, and customization. With the right tools, quality coilovers, and a bit of patience, you can transform your ride in a single weekend.
Just remember: proper installation, correct ride height, and post-installation alignment are non-negotiables if you want to enjoy the benefits without sacrificing drivability or safety.
Want More DIY Auto Projects?
Check out our other step-by-step DIY guides on suspension upgrades, brake replacements, wheel cleaning, and more. Whether you’re modifying your daily driver or building a track beast, our resources are designed to help you do it right the first time.