
Upgrading your truck bed with LED lights is one of the most cost-effective ways to enhance nighttime visibility and overall utility. Whether you’re loading cargo in the dark or just want a more refined look, LED bed lighting offers bright, energy-efficient illumination that modernizes your vehicle instantly.
The installation process is straightforward and doesn’t require advanced electrical knowledge, making it a great weekend DIY project.
This guide will walk you through the entire process of installing LED bed lights—from selecting the right products to wiring and securing the system correctly.
Tools and Materials You’ll Need
Before beginning, gather the following tools and materials:
- LED bed light kit (preferably waterproof and truck-specific)
- 12V power source (e.g., fuse tap or direct battery connection)
- Wire strippers and crimpers
- Zip ties or adhesive cable clips
- Isopropyl alcohol and clean cloth
- Electrical tape or heat-shrink tubing
- Drill with bits (optional, for toggle switch mounting)
Product Tip 1:
The Nilight Truck Bed Light Strip Kit offers a waterproof 8-pod system with adhesive backing and a switch. It’s plug-and-play compatible and includes inline fuses for safety—ideal for beginners.
Step-by-Step Installation Guide
Step 1: Plan the Layout
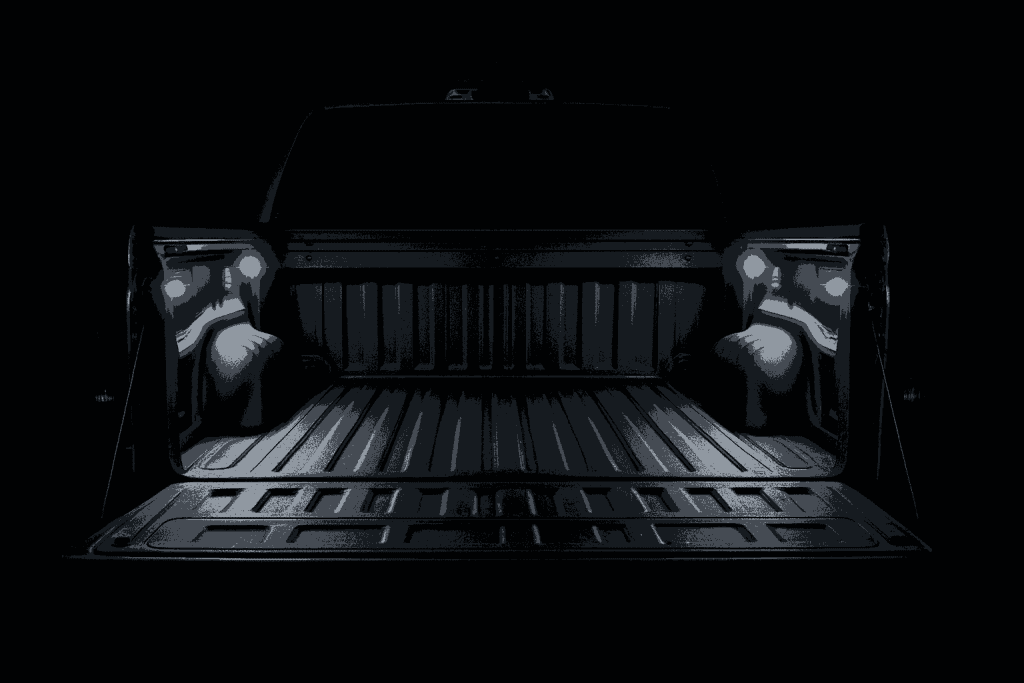
Before sticking any lights down, open the tailgate and assess your truck bed’s layout. Most LED kits include 6 to 8 light pods or LED strips. Position the lights symmetrically along the bed rails or under the lip for optimal coverage.
Use masking tape to temporarily place each light pod. This helps you visualize the final look and ensure even distribution. Consider where the wires will run and how close they are to your power source.

Step 2: Clean the Mounting Surface
Use isopropyl alcohol and a clean cloth to wipe down the mounting surfaces. This step is critical—dust, grease, or residue will compromise the adhesive strength of the lights. Wait until the surface is completely dry before proceeding.

Step 3: Mount the LED Lights
Peel the adhesive backing and firmly press each light pod or strip onto its assigned spot. For extra durability in harsh weather or off-road conditions, consider reinforcing the lights with zip ties or self-tapping screws if included in your kit.
Product Tip 2:
If your kit lacks mounting hardware, the 3M VHB Heavy-Duty Mounting Tape provides an ultra-strong bond ideal for automotive applications, especially in hot or wet conditions.
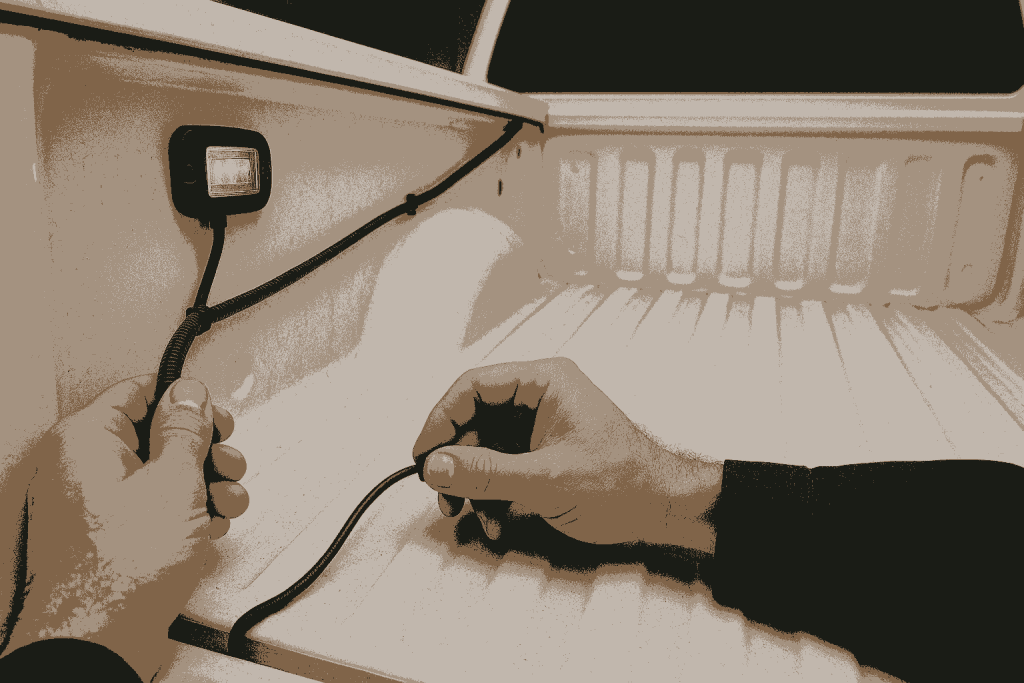
Step 4: Route the Wiring
Neatly run the wires from each light toward a central junction point, usually located near the cab or tailgate, depending on your power source. Secure the wires using zip ties or adhesive cable clips to prevent sagging or abrasion.
Avoid sharp edges or moving components when routing the cables. For extra protection, you can run the wires through plastic split loom tubing.
Step 5: Connect to Power
Most LED bed light kits are designed to work with a 12V DC power source. You have a few common options:
- Direct-to-battery connection: Offers constant power, even when the ignition is off.
- Fuse box tap-in: Only powers the lights when the truck is on.
- Cargo light splice: Integrates with the OEM cargo light switch.
Use a test light or multimeter to identify an appropriate power source. Strip the wire ends and use crimp connectors or solder joints for a secure electrical connection.
Install an inline fuse (typically 5A) between the power source and the lights to protect against shorts or overload.
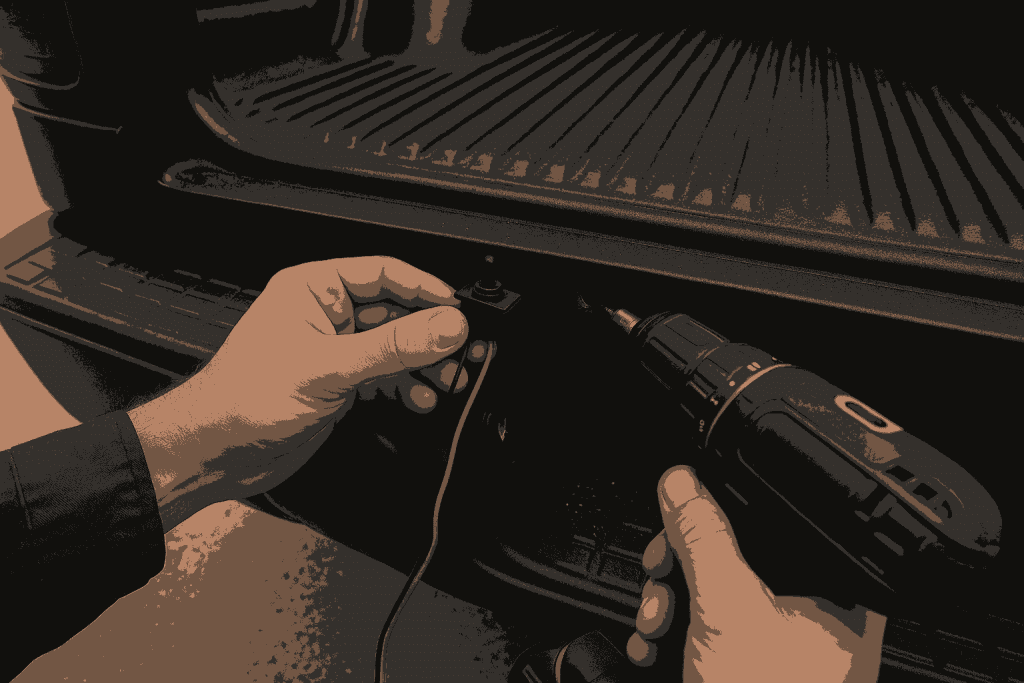
Step 6: Install the Switch
If your kit includes a manual toggle switch, mount it in a convenient, weather-protected area—like inside the tailgate lip or near the rear bumper. Drill a small hole if needed, then feed the switch wires through and secure the unit in place.
Product Tip 3:
For a professional finish, the MICTUNING LED Rocker Switch Panel offers waterproof functionality and can be flush-mounted for clean integration into your truck’s sidewall or interior.
Step 7: Test the System
Before tidying up, power on the system to check that all LED pods or strips light up evenly. If any lights don’t turn on, double-check the ground connections and fuse. Confirm that your switch is wired correctly and functioning.
Once satisfied, secure any remaining loose wires and close up your truck bed.
Final Touches and Maintenance
Once the installation is complete, periodically inspect the lights and wires for wear, especially after heavy hauling or extreme weather. Clean the light pods occasionally with a damp cloth to maintain maximum brightness.
Most quality LED systems last 30,000 to 50,000 hours, making this upgrade nearly maintenance-free.

Installing LED bed lights in your truck not only enhances its functionality but also adds a touch of modern utility. With a basic toolkit and a few hours of your time, you can achieve a clean, professional-grade result without paying for an expensive aftermarket installation.
Whether you’re an avid camper, contractor, or just want to make late-night grocery unloading easier, LED bed lighting is a high-impact upgrade worth doing.
More DIY Auto Projects
If you’re interested in more DIY car and truck upgrades, check out our other guides on How to Install a Dash Cam and Restoring a Cracked Vinyl Dashboard.
Each guide includes detailed walkthroughs and product suggestions to help you build confidence and save money with every project.