Car theft remains a constant threat, especially for owners of older vehicles lacking modern security systems. A cost-effective and practical solution is installing a hidden kill switch. This device interrupts the ignition or fuel system, making it nearly impossible for a thief to start your vehicle—unless they know exactly where to look.
This guide walks you through the step-by-step process of installing a hidden kill switch in your car or truck, giving you greater control over your vehicle’s security.

Tools and Materials You’ll Need
- Wire strippers/crimpers
- Electrical tape
- Heat-shrink tubing
- Multimeter (for identifying wires)
- Soldering iron or crimp connectors
- Toggle switch (momentary or on/off)
- Automotive-grade wire (16–18 gauge)
- Zip ties
- Screwdriver set
You’ll also want a reliable toggle switch designed for automotive use. The Nilight 90012E Toggle Switch Kit is an excellent option, offering durability, a waterproof design, and pre-wired leads for convenience.
Choosing the Right Circuit
You can install a kill switch in several circuits:
- Ignition wire – disables the starter motor.
- Fuel pump relay – disables fuel delivery.
- ECU or crank sensor – disables engine communication.
For most DIYers, the ignition or fuel pump circuits are the easiest and most effective to modify. Using a multimeter, locate the correct wire under your dash or near the fuse box. Consult your vehicle’s wiring diagram or service manual for accuracy.
Step-by-Step Installation Process
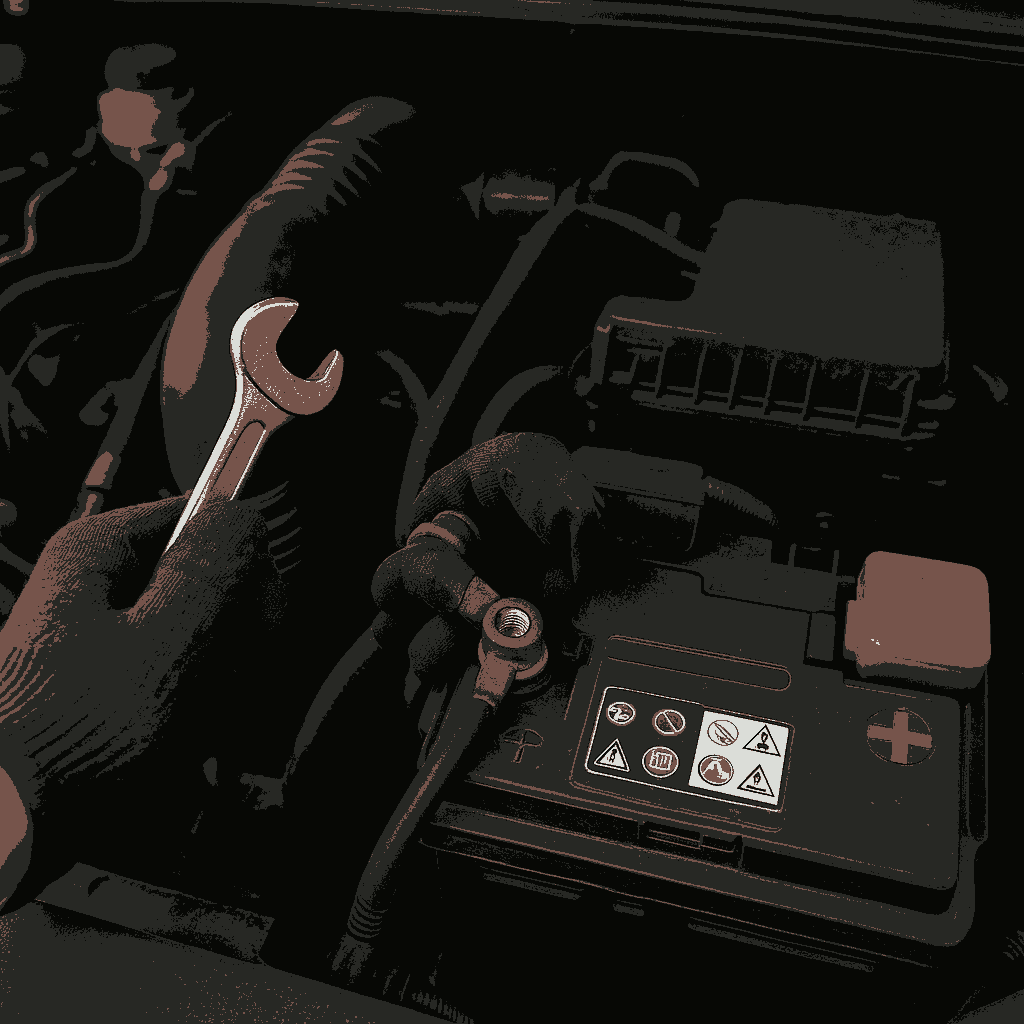
Step 1: Disconnect the Battery
Before cutting or splicing any wires, disconnect the negative battery terminal. This prevents accidental shorts or damage to your vehicle’s electronics.

Step 2: Locate and Test the Target Wire
Use your multimeter to identify the correct wire. For example, if you’re working with the fuel pump circuit, test the relay wiring with the ignition in the “on” position. Confirm that power is flowing and note the wire color and location.
For better visibility and safety during this stage, consider using a digital multimeter with built-in protection.

Step 3: Cut and Splice the Wire
Once identified, cut the wire cleanly using a wire cutter. Strip both ends about ½ inch. Connect a length of 16–18 gauge wire to each side of the cut using either crimp connectors or by soldering. Make sure connections are solid and insulated using heat-shrink tubing or electrical tape.
To conceal your wiring and maintain a factory look, route the wires through existing looms when possible. Use zip ties to keep the harness tidy and away from moving parts or hot surfaces.
Step 4: Mount the Kill Switch
Choose a hidden location inside your cabin that is not easily visible, but still accessible to you. Good locations include:
- Under the dashboard
- Inside the glove box
- Beneath the seat
- In a removable panel or ashtray compartment
Drill a small hole or use an existing mounting point to secure the switch in place.

Step 5: Connect the Kill Switch
Attach the two wire leads from the ignition or fuel pump wire you spliced earlier to the terminals on the switch. Use the switch’s instructions to confirm the correct terminal orientation.
Step 6: Test the System
Reconnect your battery and attempt to start the car with the switch in both positions. If the engine won’t start when the switch is set to “off,” your kill switch is working correctly. Test multiple times to verify consistent results.
Step 7: Finalize and Conceal
Secure all wires and connections using zip ties and electrical tape. Avoid leaving anything loose or dangling, especially near pedals or HVAC ducting. Make sure the switch remains inconspicuous to maintain the system’s effectiveness.

Additional Tips for Best Results
- Do not label the switch. Obvious markings can alert a thief to its function.
- Avoid predictable locations. Factory-look panels or obscure crevices work best.
- Combine with other security systems such as steering wheel locks or GPS trackers for layered protection.
Conclusion
Installing a hidden kill switch is one of the most effective and affordable anti-theft upgrades you can add to your car or truck.
With basic tools, a bit of electrical knowledge, and around one hour of work, you’ll significantly reduce the chances of vehicle theft.

By adding this layer of protection, you gain peace of mind—especially when parking in high-risk areas or leaving your vehicle unattended for extended periods.
Interested in more hands-on automotive upgrades or repairs? Check out our full library of DIY articles, including guides on LED light installations, exhaust repairs, power steering pump replacements, and more. Each post is designed to help you get the job done right—with professional tips and product recommendations to match.
