
A faulty oxygen sensor—also known as an air-fuel ratio sensor—can severely affect your vehicle’s performance. It may trigger a check engine light, decrease fuel economy, or lead to increased emissions. Fortunately, checking and replacing an O2 sensor is a straightforward DIY task for most vehicles.
This guide walks you through diagnosing a bad sensor and replacing it efficiently, while recommending tools and products to make the job easier and more accurate.
Why the Oxygen Sensor Matters
The oxygen sensor monitors the level of oxygen in your vehicle’s exhaust gases. Based on this reading, the engine control unit (ECU) adjusts the air-fuel mixture to optimize combustion. A failing sensor may send incorrect signals, causing poor engine performance, stalling, and even long-term damage to your catalytic converter.
Symptoms of a Faulty Oxygen Sensor
- Illuminated check engine light (often code P0131, P0133, P0420, etc.)
- Poor gas mileage
- Rough engine idle
- Failed emissions test
- Engine misfiring
Step-by-Step: How to Check and Replace an Oxygen Sensor
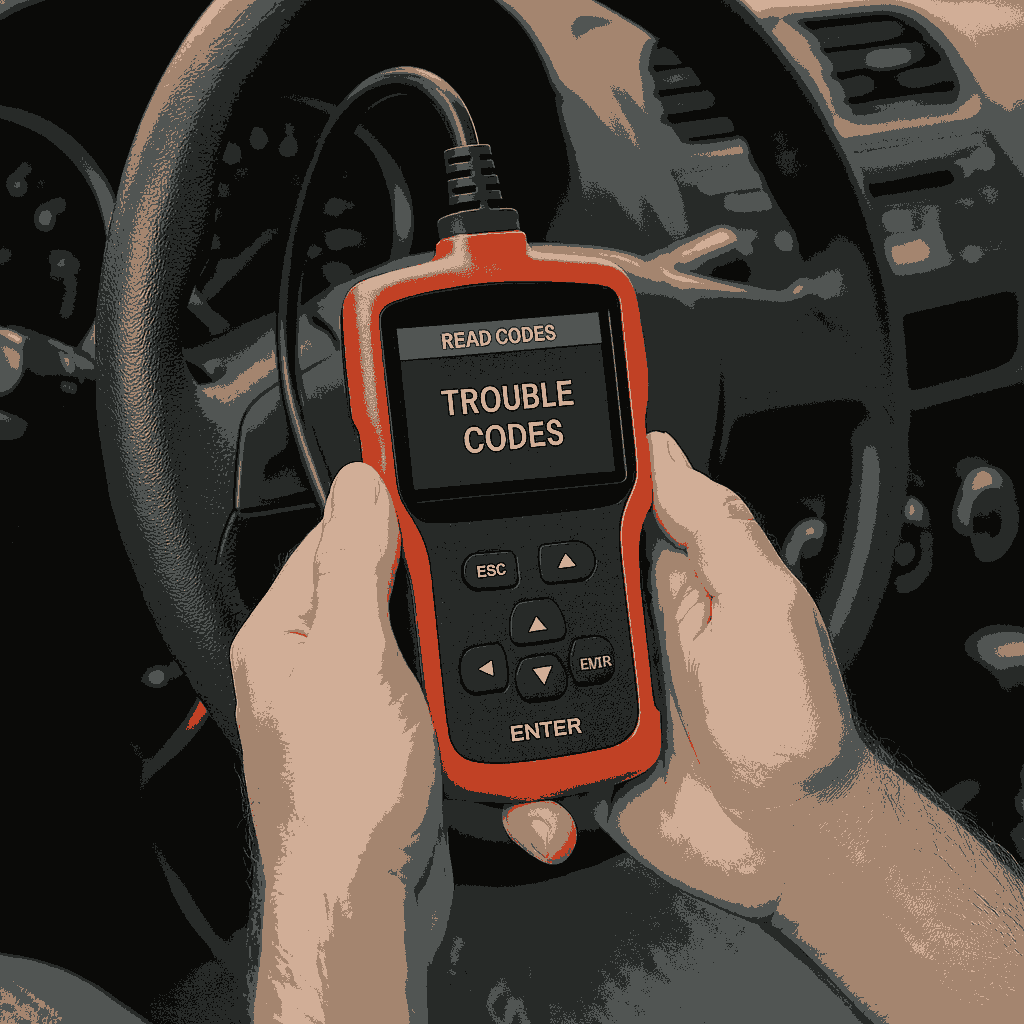
1) Diagnose the Problem
Use a scan tool to read trouble codes from your car’s ECU. A quality OBD2 scanner like the BlueDriver Bluetooth Pro OBDII Scan Tool connects to your smartphone and provides real-time sensor data and diagnostic reports. Look specifically for codes related to O2 sensors, typically P0131 through P0167.
If the OBD2 scanner identifies a sensor issue, locate the specific one: upstream (before the catalytic converter) or downstream (after the converter).
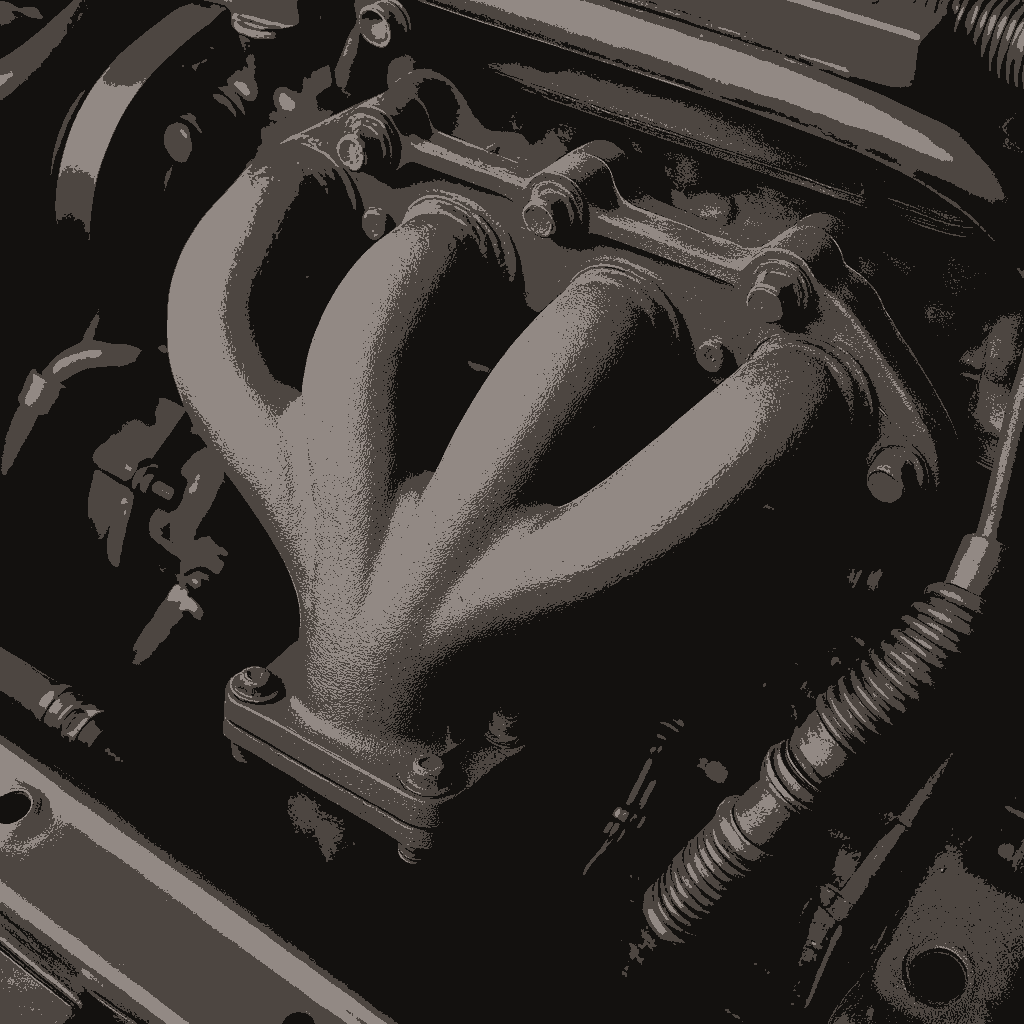
2) Locate the Sensor
Most vehicles have 2–4 oxygen sensors. Refer to your vehicle’s service manual or the BlueDriver app’s database to find sensor locations. Upstream sensors are mounted in the exhaust manifold; downstream ones are near or after the catalytic converter.
Ensure the engine is cool before working on exhaust components.
3) Gather Tools and Parts
- OBD2 scanner
- Jack and jack stands
- Ratchet wrench
- Oxygen sensor socket (slotted design)
- Anti-seize compound
- Replacement sensor
For removal, an OEMTOOLS Oxygen Sensor Socket makes the process easier by gripping the sensor securely while clearing the attached wire harness. This tool is specially designed for tight spaces.
4) Remove the Old Sensor
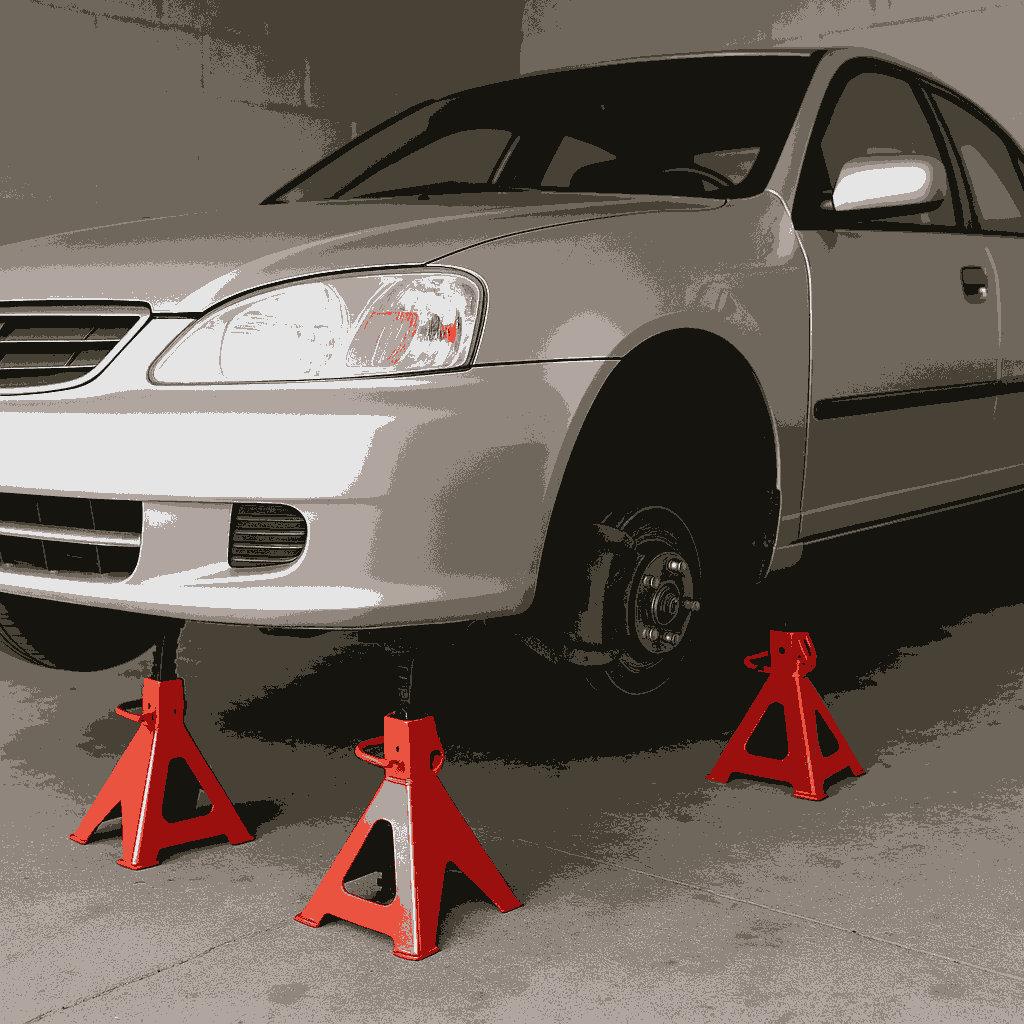
Disconnect the negative terminal of your battery. Jack up the vehicle and secure it on jack stands if needed.
Unplug the electrical connector on the faulty sensor. Use the oxygen sensor socket and ratchet to loosen and remove the sensor. If it’s seized due to rust, apply a penetrating lubricant and let it soak for several minutes before retrying.
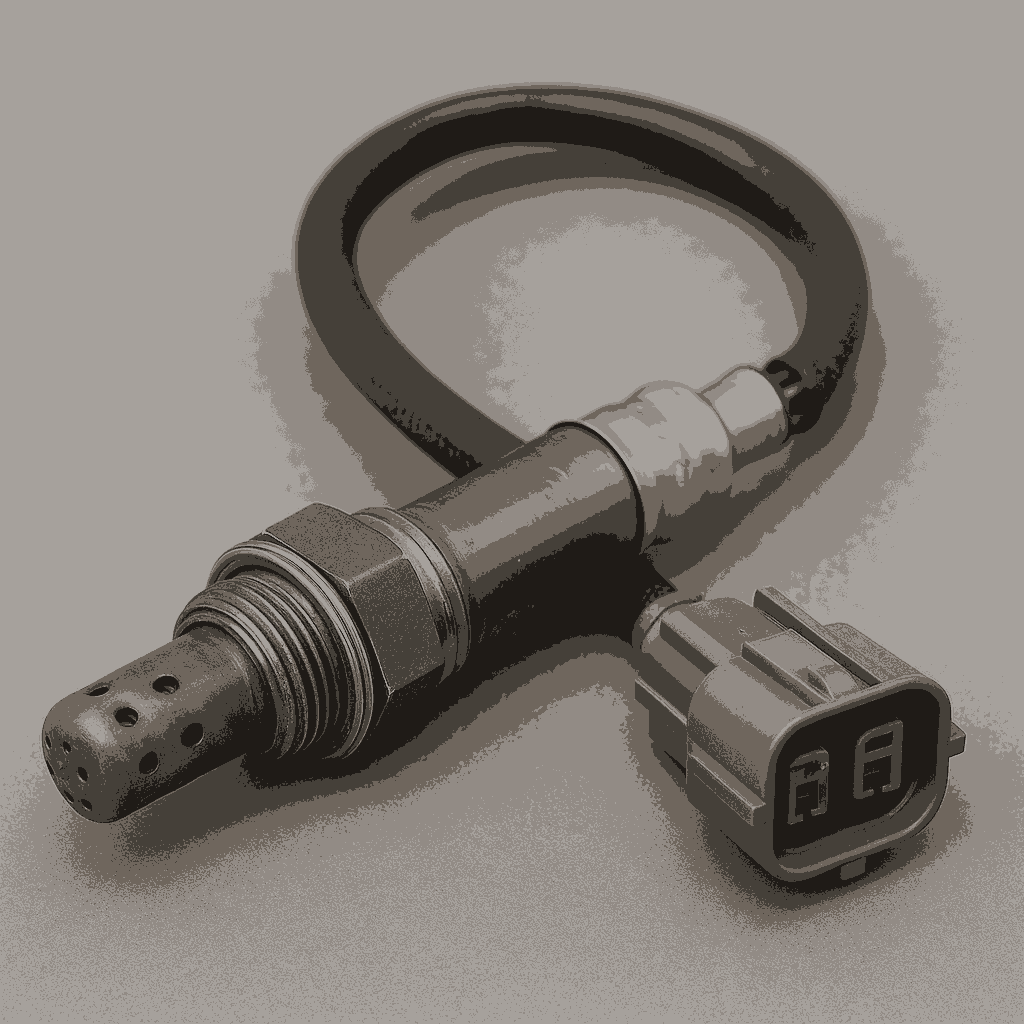
5) Install the New Sensor
Apply a small amount of anti-seize compound (often included with the new sensor) to the threads of the replacement.
Choose a sensor that meets or exceeds OEM specifications. The Bosch 15717 Oxygen Sensor is a reliable, plug-and-play option compatible with many vehicle models and delivers accurate readings over time.
Thread the new sensor into place, tighten it securely, and reconnect the electrical plug.
6) Clear Trouble Codes
Reconnect the battery. Use your OBD2 scanner to clear the check engine codes. Start the vehicle and let it idle. Watch the scanner data to confirm proper sensor operation and no return of codes.

Safety Tips
- Always allow the engine to cool completely before working on exhaust components.
- Use jack stands—never rely solely on a hydraulic jack.
- Wear safety gloves and eye protection when working underneath your vehicle.
Conclusion
Replacing a faulty oxygen sensor restores engine performance, improves fuel economy, and helps you pass emissions tests. With the right tools and some patience, it’s a job most DIYers can complete in under an hour.
From diagnosis with the BlueDriver OBDII Scanner, to removal using the OEMTOOLS Sensor Socket, and replacement with a Bosch Oxygen Sensor, having the right products on hand makes the process smoother and more efficient.
Explore More DIY Auto Repair Tutorials
Want to continue saving money and maintaining your vehicle yourself? Check out our other step-by-step repair articles, including how to replace drum brakes, repairing an exhaust leak, and replace your water pump—available now in our DIY Auto Repair section.