
Buying a used car can be a smart financial decision, but it also comes with risk—especially when it comes to engine health. The engine is the heart of the vehicle, and diagnosing problems before you purchase can save you from unexpected breakdowns and costly repairs.
Whether you’re inspecting a vehicle from a dealership or a private seller, this guide walks you through a professional-level engine check so you can make an informed choice.
Step-by-Step Guide to Inspecting a Used Car Engine
1) Start with a Cold Engine
Always try to inspect the car when the engine is cold. A warm engine may hide starting issues, knocking sounds, or smoking problems that only appear when the car has been sitting for a while. When arranging a meeting with the seller, ask them not to start the vehicle beforehand.
2) Perform a Visual Inspection Under the Hood
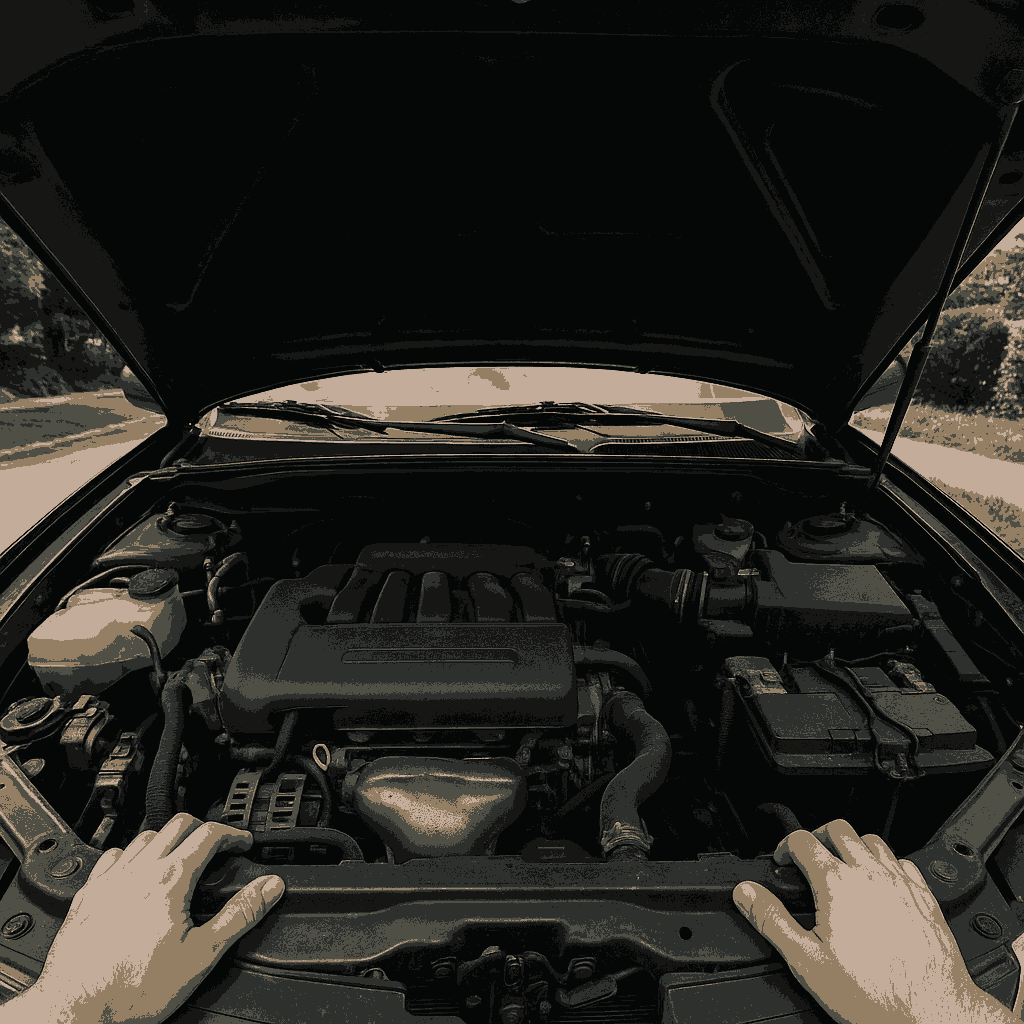
Pop the hood and begin with a thorough visual check.
- Leaks: Look for oil stains, coolant drips, or residue around gaskets, the oil pan, and radiator hoses. Any sign of leaking fluid could indicate poor maintenance or a failing seal.
- Belts and Hoses: Inspect for cracks, fraying, or visible wear. Belts should be taut and in good condition, while hoses should be flexible—not brittle or swollen.
- Battery Condition: Check for corrosion on battery terminals and make sure the cables are securely connected.
A bright, rechargeable inspection light can help you spot hard-to-see damage in tight engine bays, especially in lower daylight conditions.
3) Check the Oil Condition and Level

Remove the dipstick, wipe it clean, reinsert it, and then pull it out again.
- Oil Color: Healthy oil is golden to dark brown. Milky or cloudy oil can indicate coolant mixing with oil—a potential head gasket failure.
- Metal Particles: Grit or shiny particles in the oil are warning signs of internal engine wear.
Additionally, open the oil filler cap and check for sludge buildup, which suggests poor oil change intervals. If you have access to fluid testers, you can sample oil or coolant for deeper analysis.
4) Inspect the Coolant System
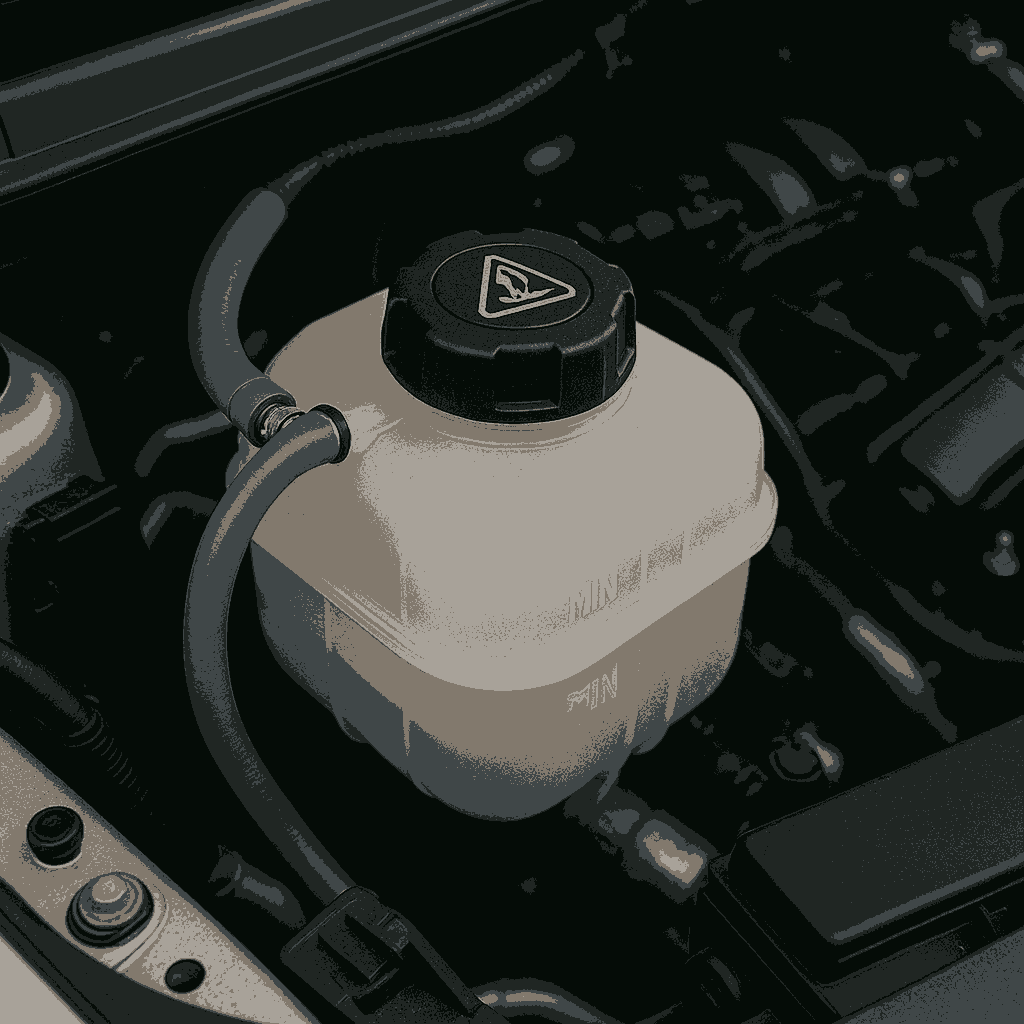
Open the radiator cap (only if the engine is cold) and inspect the coolant level and color.
- Coolant Color: It should be green, orange, or pink, depending on the vehicle type. Brown or rusty coolant may indicate corrosion or poor maintenance.
- Oil in Coolant: A brown, milky residue inside the radiator or coolant reservoir can point to a blown head gasket or cracked cylinder head.
A simple coolant tester can help check freeze/boil protection and overall fluid condition.
5) Listen for Abnormal Noises
Start the engine and pay close attention to how it sounds.
- Ticking or Knocking: Could indicate worn lifters, connecting rods, or other serious internal issues.
- Whining or Hissing: May stem from a bad water pump, power steering issues, or vacuum leaks.
Let the engine idle for a few minutes, then gradually rev to about 3,000 RPM. It should respond smoothly without hesitation, rattles, or misfires.
6) Check for Excessive Smoke
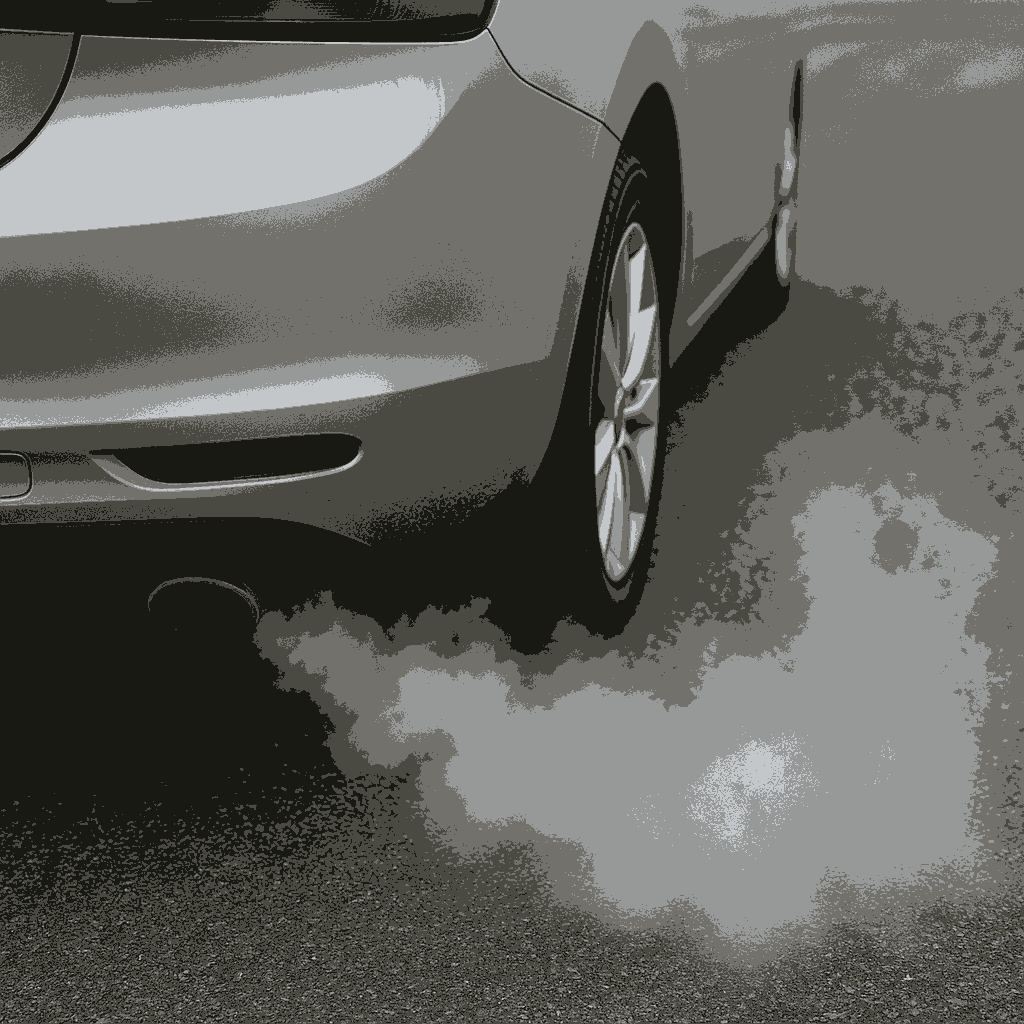
Observe the exhaust while the engine runs.
- Blue Smoke: Indicates the engine is burning oil.
- White Smoke: Could mean coolant is entering the combustion chamber.
- Black Smoke: Usually a sign of a rich fuel mixture, potentially pointing to fuel injection or sensor issues.
If possible, have the seller rev the engine while you stand behind the car to observe the smoke pattern clearly.
7) Scan for Diagnostic Trouble Codes (DTCs)
Even if the check engine light isn’t on, a diagnostic scan can uncover stored or pending issues. Use a Bluetooth OBD2 scanner to perform scanning for codes. Plug into the car’s OBD2 port (usually under the dashboard) and review any powertrain, emissions, or sensor-related faults.
8) Check the Service Records and Ownership History
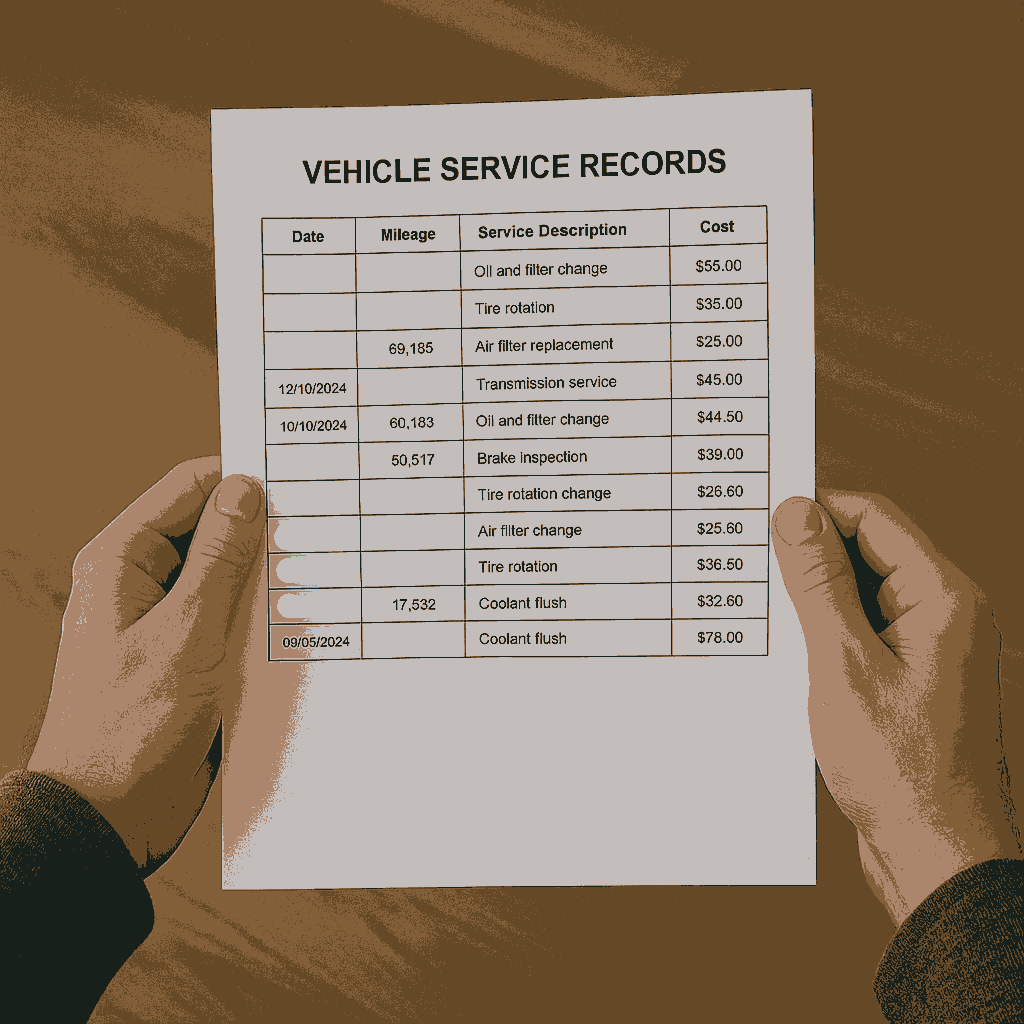
A clean engine bay means little if there’s no proof of regular maintenance. Ask for service records, including:
- Oil change intervals
- Timing belt or chain replacement
- Cooling system flushes
- Spark plug and ignition component changes
Be cautious with vague or missing records, especially on higher-mileage vehicles.
Final Thoughts
A detailed engine inspection can make or break your used car purchase decision. By checking fluid conditions, scanning for codes, listening for abnormal noises, and using the right tools, you protect yourself from buying a vehicle with hidden issues.
Never feel pressured to buy on the spot—take your time, and consider hiring a mechanic for a pre-purchase inspection if you’re unsure.
Explore More DIY Automotive Guides
Interested in learning more about DIY vehicle checks and repairs? Explore our tutorials on replacing oxygen sensors, fixing windshield cracks, preventing foggy windows, and more.