
Maintaining your vehicle’s braking system is crucial for safety and performance. Brakes are arguably the most important safety component on any vehicle, responsible for stopping you safely in traffic and emergency situations.
Over time, brake pads wear down, and rotors become less effective due to heat and friction, which can significantly reduce stopping power and lead to unpleasant symptoms like noise and vibration.
Regular inspection and timely replacement of these parts not only ensure your vehicle performs optimally but also help you avoid costly repairs and dangerous breakdowns.
Whether you’re a seasoned DIY enthusiast or a first-time car maintainer, replacing your front brakes, pads, and rotors is a practical and achievable project that can save you money while boosting your confidence under the hood.
This guide will walk you through every step of the process to replace front brakes, pads, and rotors. We will provide detailed instructions, tool recommendations, and product suggestions to help you complete the job safely and efficiently.
With the right preparation and attention to detail, you’ll be able to restore your braking system’s responsiveness and ride comfort — ensuring peace of mind every time you hit the road.
Why Replacing Your Front Brakes Matters
Front brakes do the majority of the work when slowing your vehicle, which makes their maintenance especially important. Symptoms of worn brakes include:
- A squealing or grinding noise when braking
- Vibration or pulsation in the brake pedal
- Increased stopping distance
- A brake warning light on the dashboard
Ignoring these signs can lead to expensive repairs or even a dangerous brake failure. Replacing your pads and rotors promptly not only enhances safety but also improves your vehicle’s responsiveness and ride quality.
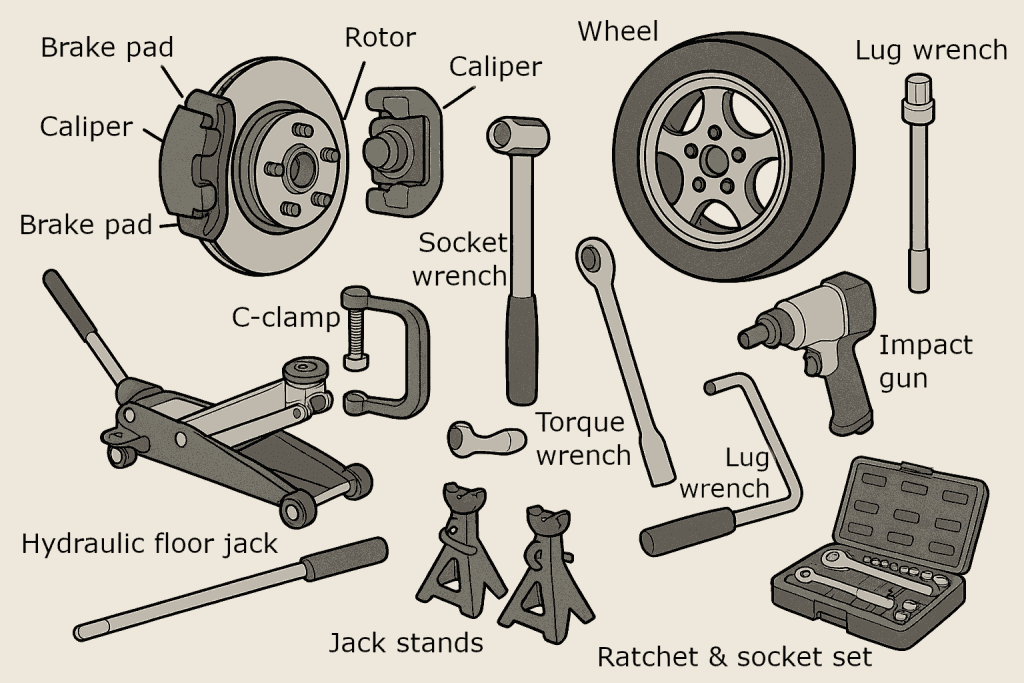
Tools and Supplies You’ll Need
Before getting started, gather the following essentials:
- Jack and jack stands
- Lug wrench or impact gun
- Ratchet and socket set
- C-clamp or brake caliper tool
- Torque wrench
- Wire brush
- Brake cleaner
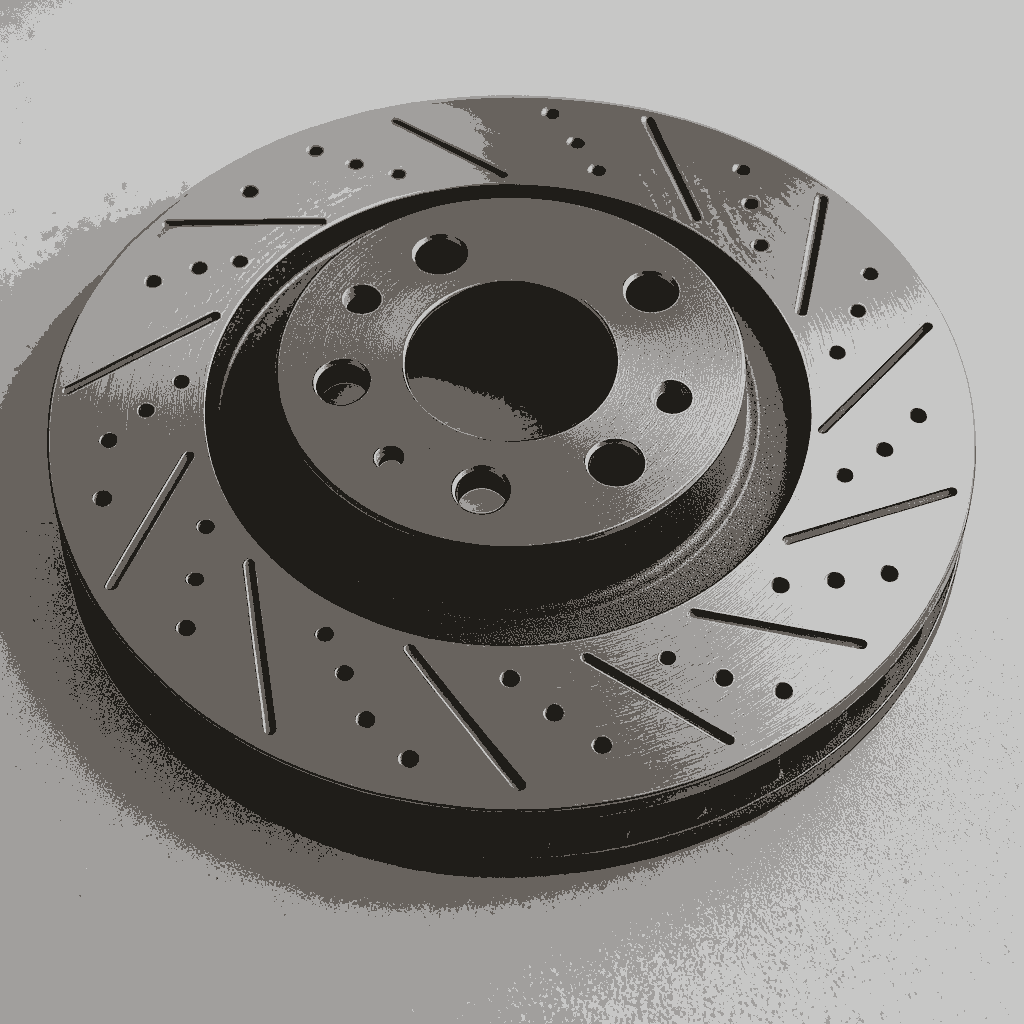
- Brake pads and rotors
- Brake lubricant
DIY Walkthrough: Replacing Front Brake Pads and Rotors
Step 1: Safety First
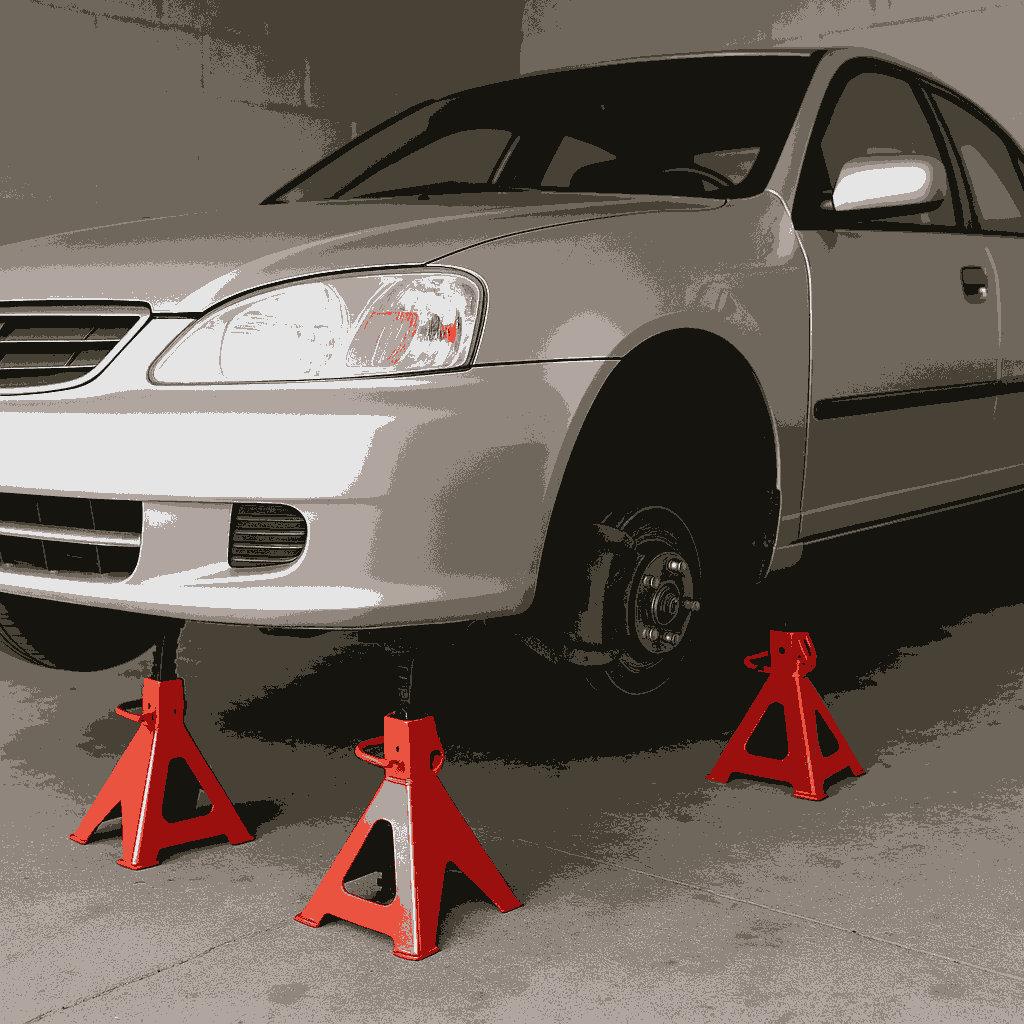
Park your car on a level surface, engage the parking brake, and block the rear wheels. Loosen the lug nuts on the front wheels slightly before lifting the vehicle using a hydraulic floor jack. Once raised, secure it on sturdy jack stands—heavy-duty options like Torin Big Red Steel Jack Stands provide excellent stability and safety during the job.
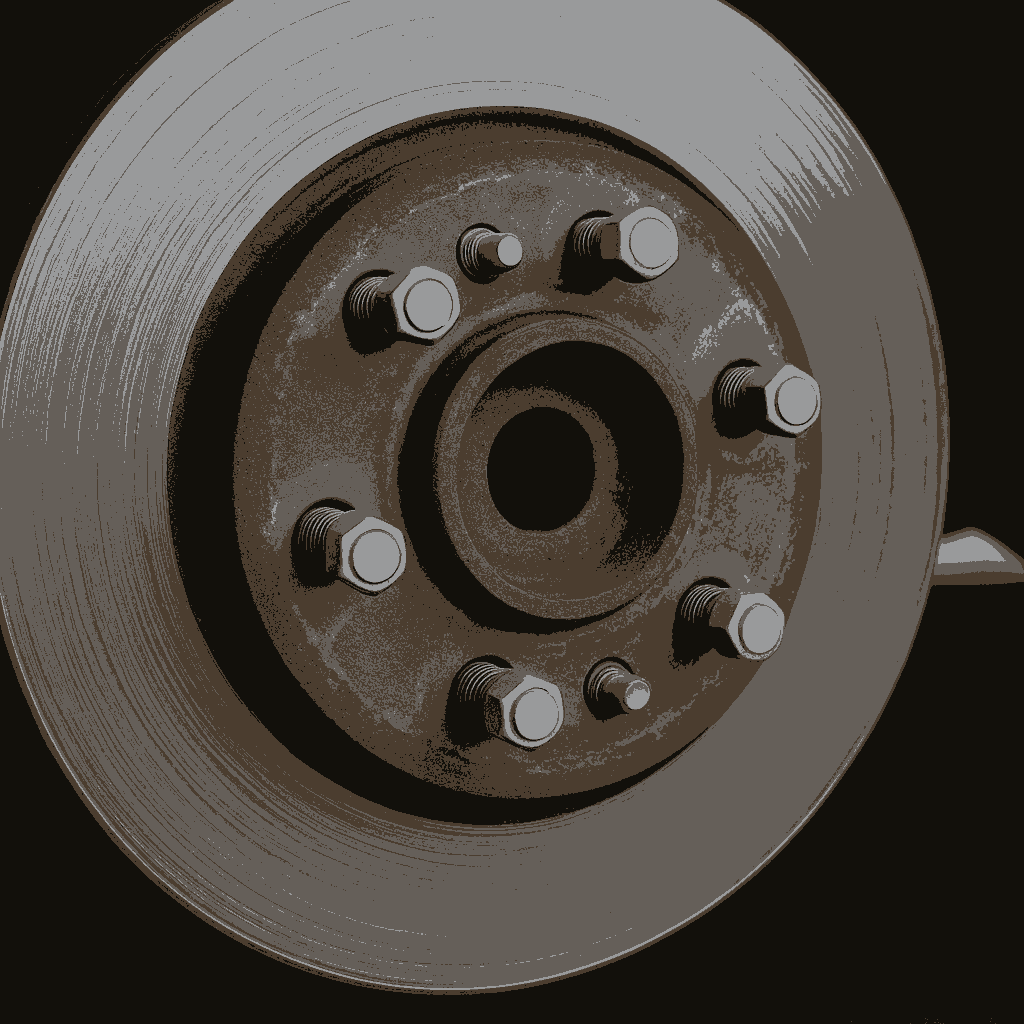
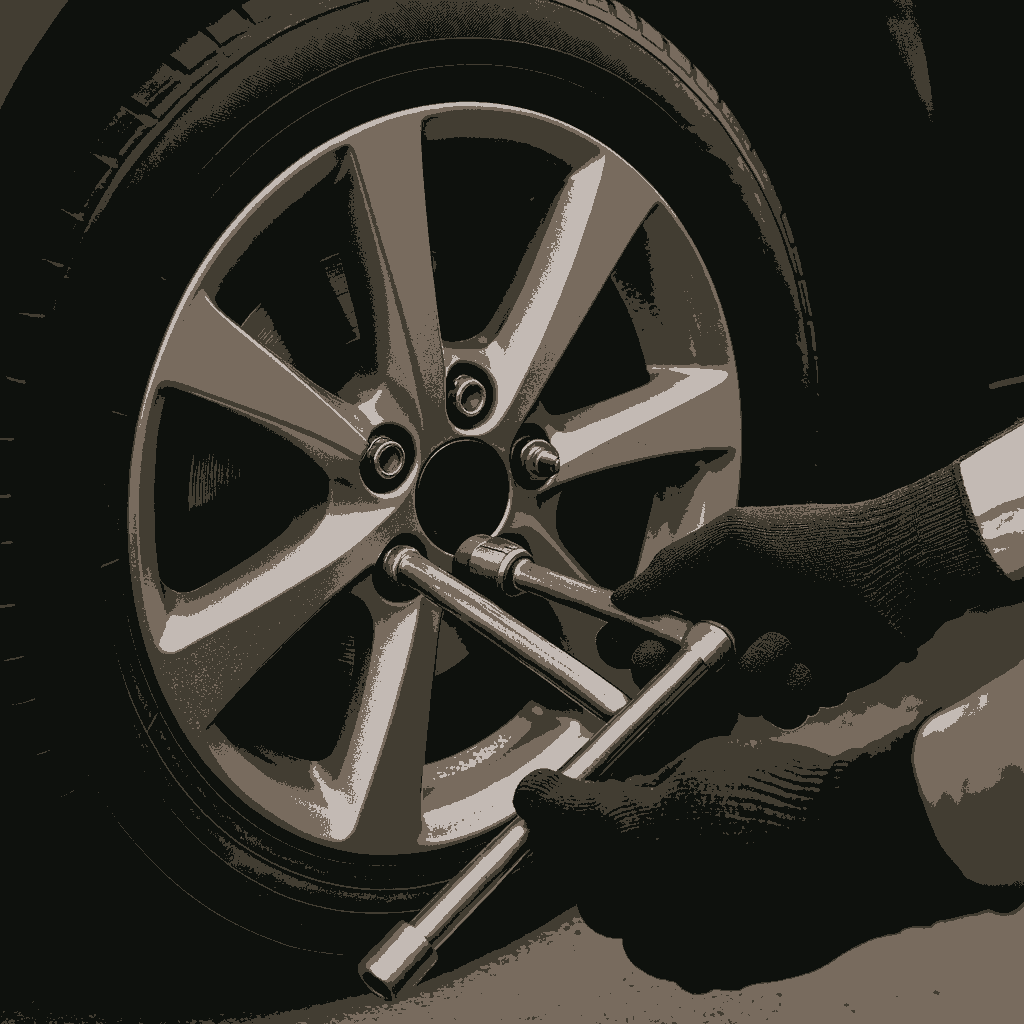
Step 2: Remove the Front Wheels
Remove the loosened lug nuts and take off the front wheels to expose the brake calipers, pads, and rotors.
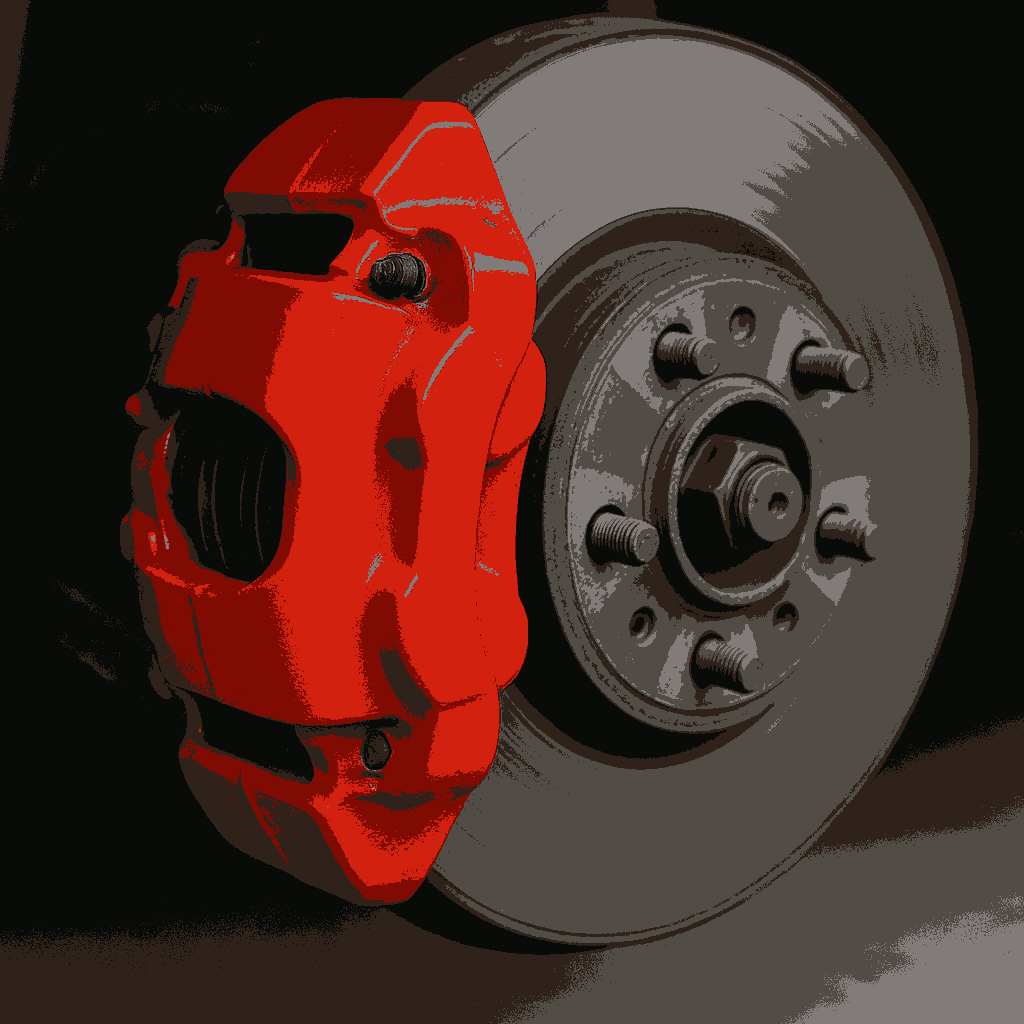
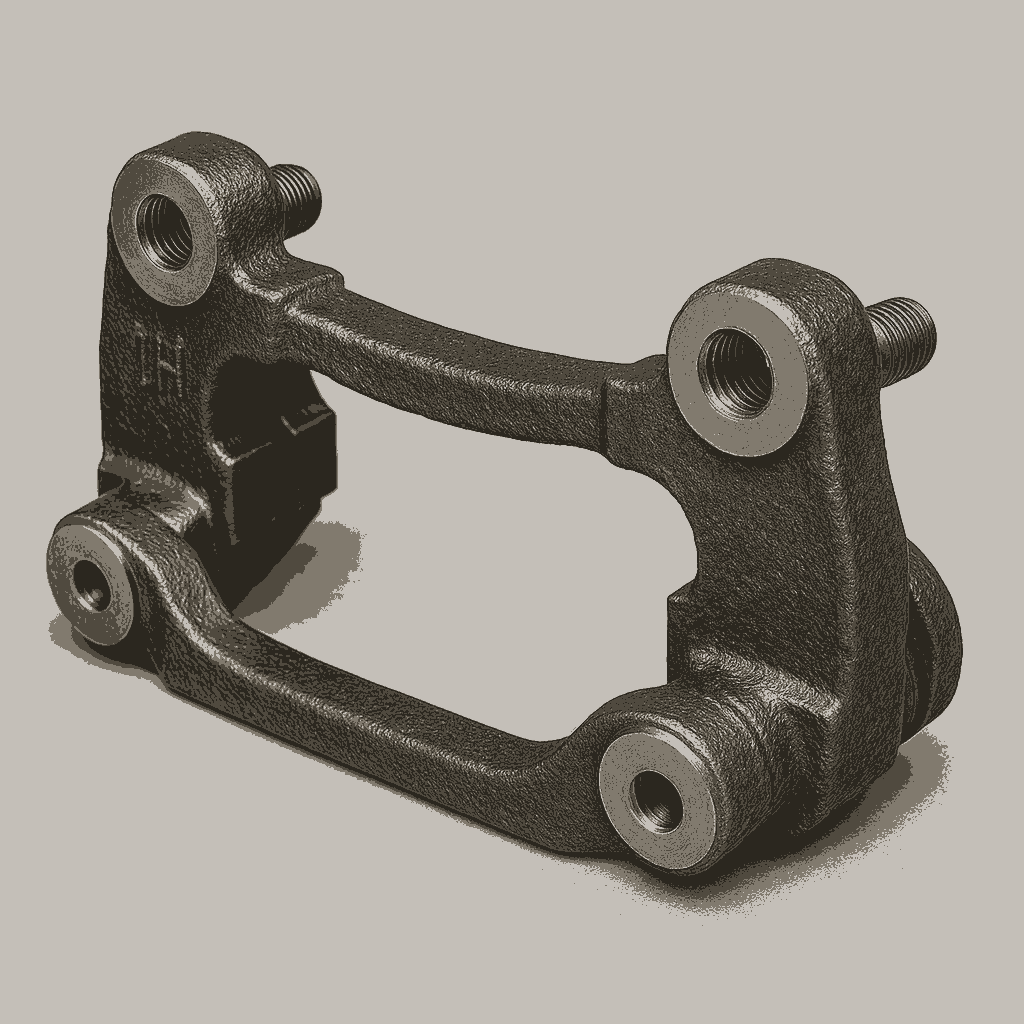
Step 3: Remove the Brake Caliper
Using a socket wrench, remove the caliper bolts on the back of the brake assembly. Carefully slide the caliper off the rotor. Suspend it with a bungee cord or wire to avoid stressing the brake line.
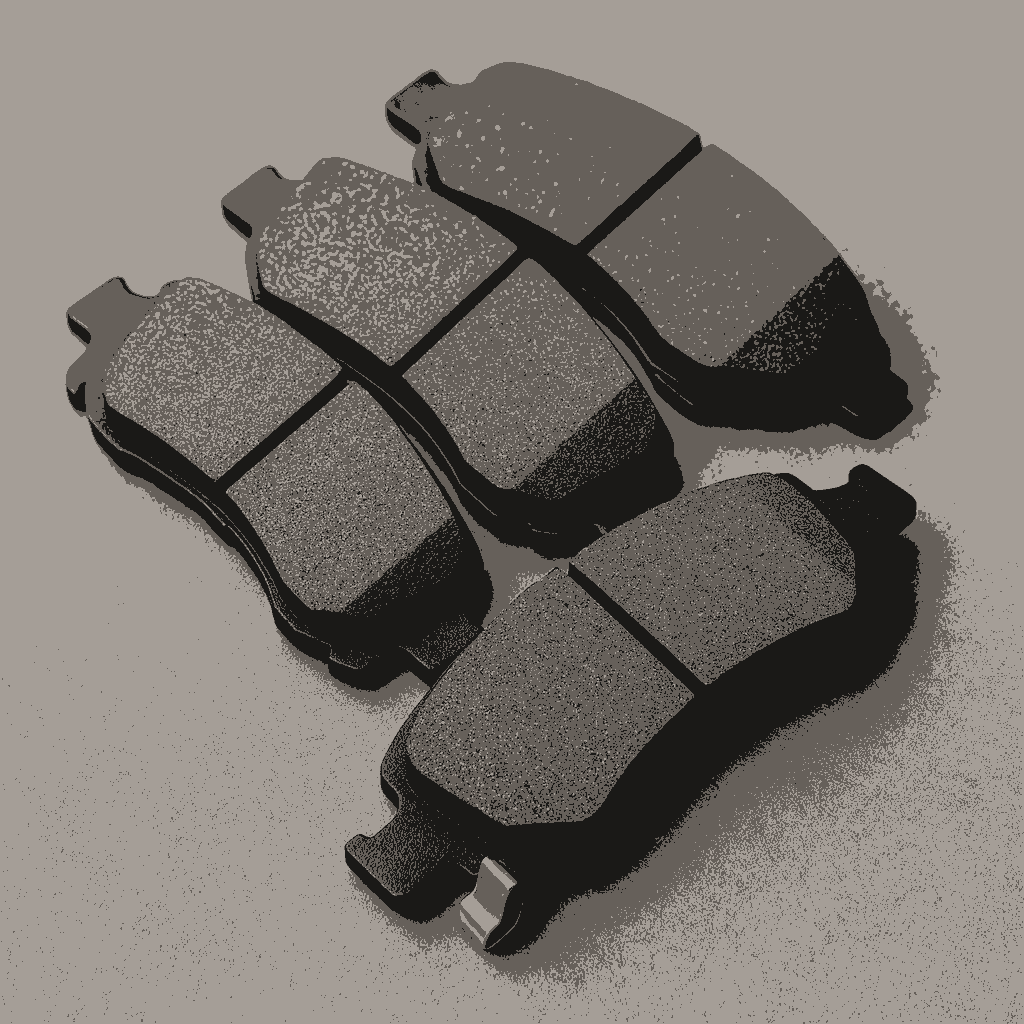
Step 4: Remove the Old Brake Pads
Take out the old pads from the caliper bracket. If they’re stuck, gently pry them loose with a flathead screwdriver. Make a note of their positioning.
Step 5: Remove the Caliper Bracket
Remove the larger bolts holding the caliper bracket in place. You’ll need this bracket out of the way to access the rotor.
Step 6: Remove the Old Rotor
If the rotor doesn’t slide off easily, gently tap it with a rubber mallet. Be sure to remove any retaining screws or clips beforehand. Once off, inspect the hub for rust and buildup.
Step 7: Clean and Prep
Spray the hub face and surrounding hardware with 3M High Power Brake Cleaner to remove grease and grime. Use a wire brush to clean contact surfaces thoroughly—this step ensures proper rotor seating and prevents vibration.
Step 8: Install the New Rotor
Slide the new rotor onto the hub. To keep it in place temporarily, thread on a lug nut by hand.
Step 9: Reinstall the Caliper Bracket
Secure the caliper bracket over the new rotor and torque the bolts according to your vehicle’s specifications.
Step 10: Install New Brake Pads
Before placing the pads into the bracket, apply Permatex Ceramic Extreme Brake Parts Lubricant to the contact points. This helps reduce brake noise and allows smoother pad movement. Carefully slide in the new pads, ensuring a proper fit.
Step 11: Compress the Caliper Piston
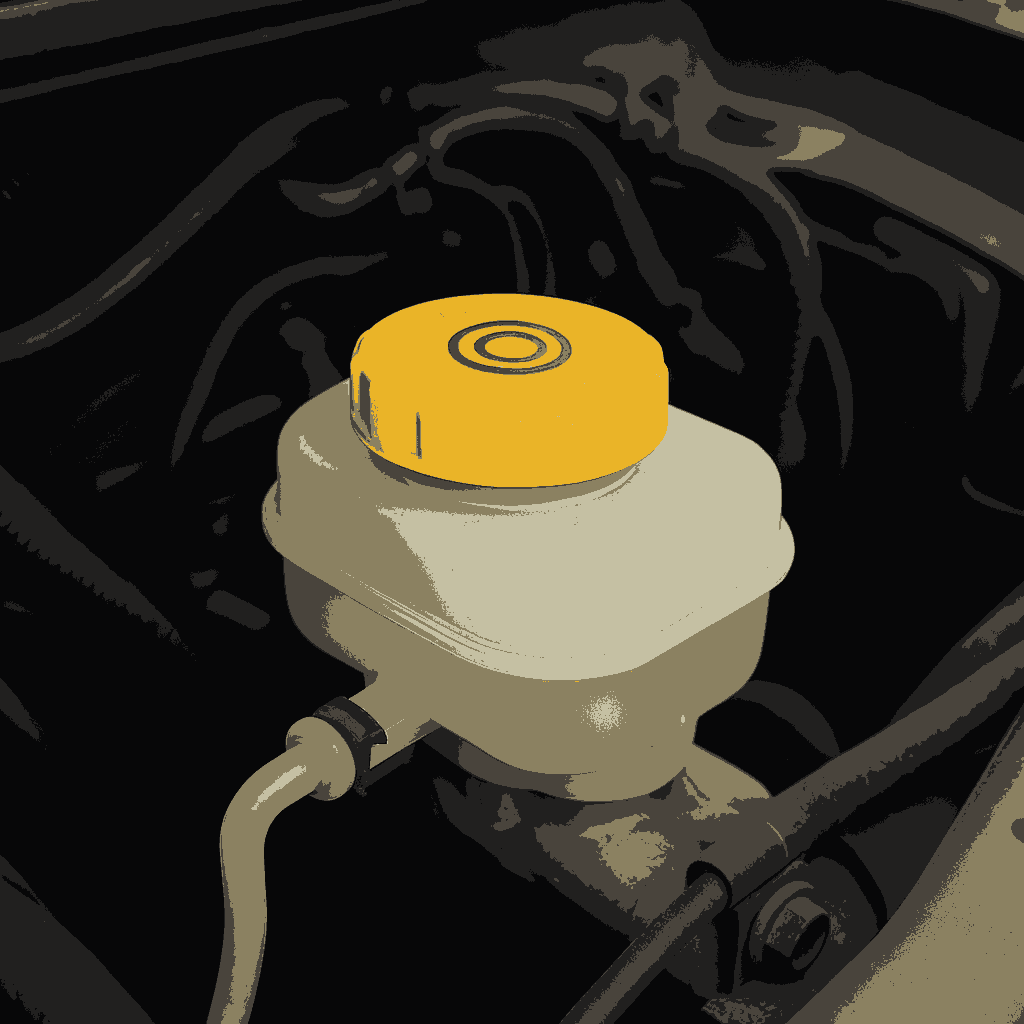
Using a C-clamp or brake caliper tool, gently compress the piston back into the caliper. Keep an eye on the brake fluid reservoir, as fluid levels may rise during this step.
Step 12: Reinstall the Caliper
Position the caliper over the new brake pads and fasten it using the original bolts. Torque them to the manufacturer’s specs.
Step 13: Reinstall the Wheel
Reattach the wheel, hand-tighten the lug nuts, and lower the car back to the ground. Once on the ground, use a torque wrench to tighten the lug nuts to the specified torque.
Step 14: Repeat for the Other Side
Repeat the same process on the opposite front wheel. Replacing both sides together ensures even performance and wear.
Step 15: Test and Bed-In Your Brakes
Before driving, pump the brake pedal a few times to build pressure. Then take your vehicle for a gentle test drive. If you are upgrading, consider a quality brake kit like the Power Stop Front Z23 Evolution Sport Brake Kit, which includes carbon-fiber ceramic pads and performance rotors designed for optimal daily driving performance. Follow the manufacturer’s bedding-in procedure to properly mate the pads and rotors.
Conclusion and Take-Home Message
Replacing your front brakes, pads, and rotors is essential for maintaining your vehicle’s safety and performance.
Remember that safety should always be your top priority: use the proper equipment, follow manufacturer torque specifications, and take your time with each step.
High-quality parts paired with thorough cleaning and proper bedding-in procedures will ensure your brakes perform optimally for many miles to come. For any doubts, consult your vehicle’s service manual or a professional mechanic.
Want to keep learning? Don’t miss our detailed guide on how to change the oil in a Tesla, featuring EV-specific insights to keep your electric vehicle running smoothly.