
When a car window refuses to roll up or down, the culprit is often a failed window regulator motor. While this issue can be frustrating, replacing the motor is a manageable DIY task that can save you hundreds in repair costs. This guide will walk you through how to replace a window regulator motor efficiently and safely, even if you have limited mechanical experience.
What Is a Window Regulator Motor?
The window regulator motor is part of your car’s power window system. It works with the regulator mechanism to move the window glass up and down at the push of a button. Over time, these motors can burn out due to wear and tear, poor lubrication, or electrical issues. Symptoms of a failing motor include slow window movement, intermittent function, or complete failure to respond.
Tools and Supplies You’ll Need
- Screwdriver set (Phillips and flat-head)
- Trim removal tool
- Socket wrench set
- Safety gloves
- Electrical tape
- Torque wrench (optional but helpful)
You’ll also need a replacement window regulator motor that matches your vehicle’s make and model.
Step-by-Step Instructions
Step 1: Disconnect the Battery
Start by disconnecting the negative battery terminal to avoid electrical shock and prevent short circuits while working on the power window system.

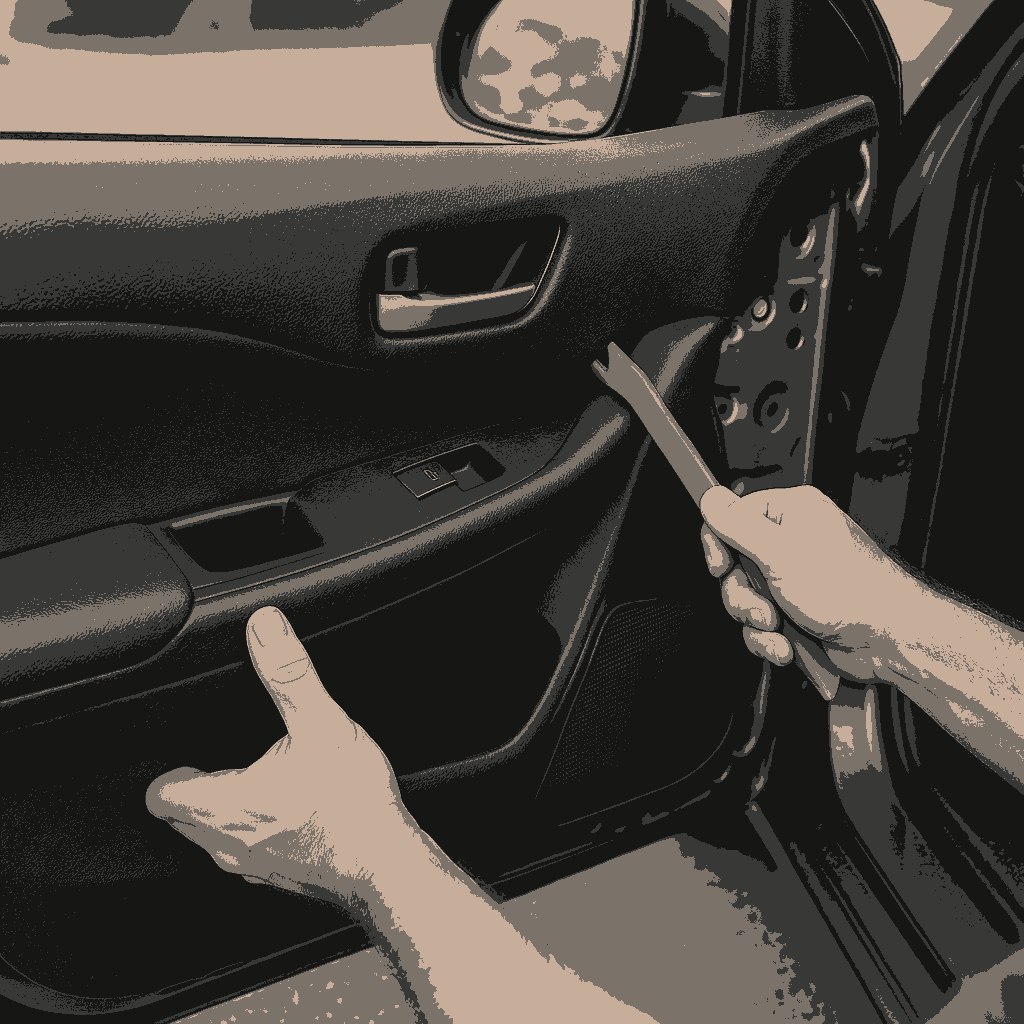
Step 2: Remove the Interior Door Panel
Use a trim removal tool to carefully pry off the door panel. Remove any screws hidden behind the door handle, under armrests, or near the panel edges. Once all fasteners are removed, gently lift the panel away, taking care not to damage clips or wires.
Step 3: Disconnect Electrical Connectors
With the panel removed, locate and disconnect the wiring harness connected to the window switch and motor. Make sure to label or photograph connector positions if you’re unsure about reassembly later.
Step 4: Detach the Window Glass (If Applicable)
In some vehicles, you may need to detach the window glass from the regulator to access the motor. Lower the window until the mounting bolts are accessible, loosen them, and gently lift the window glass. Secure it in the fully raised position using electrical tape.
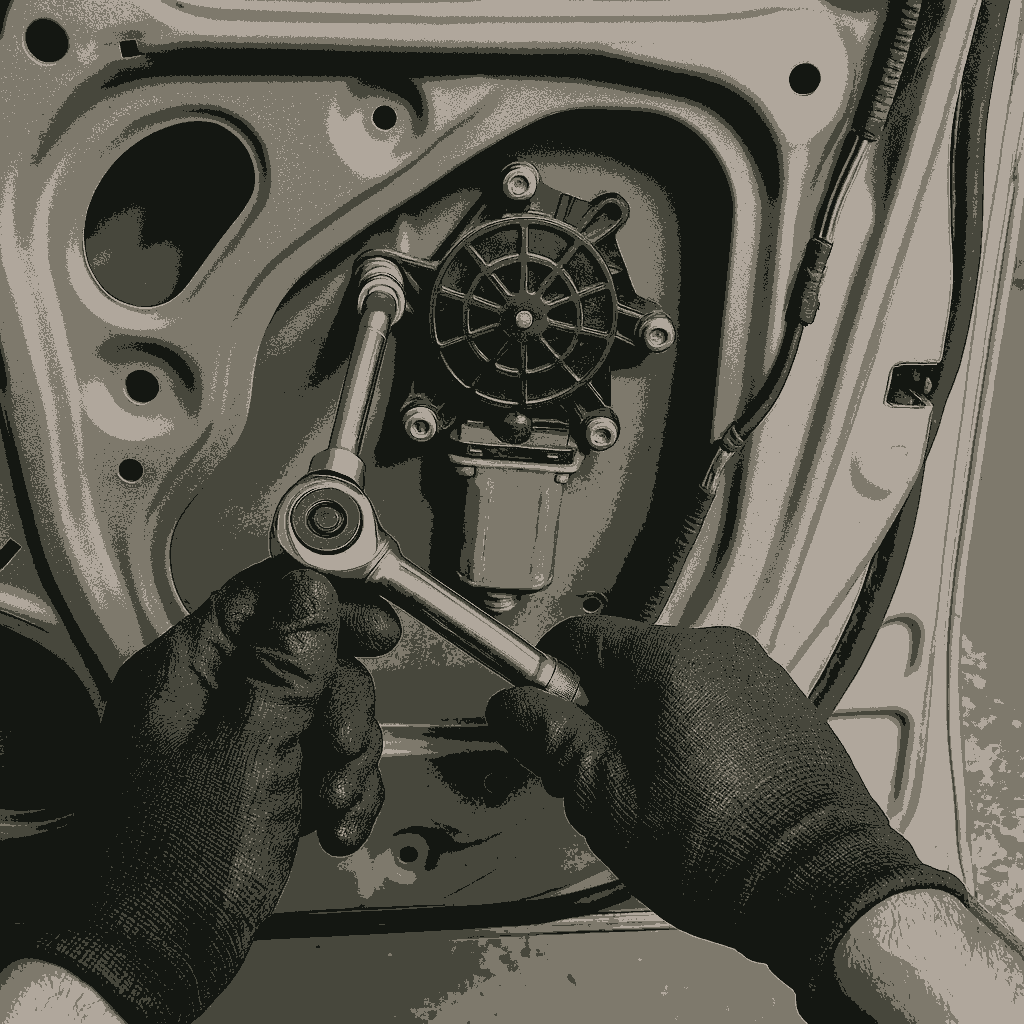
Step 5: Remove the Old Window Regulator Motor
Using your socket wrench, unbolt the regulator motor from the door frame. Most setups include three to five bolts. Carefully remove the motor from the regulator. In some vehicles, the motor and regulator come as a single unit — in that case, remove the entire assembly.
Step 6: Install the New Motor
Align the new motor or motor-regulator assembly in the original mounting position. Hand-tighten the bolts first to ensure proper alignment, then torque them to manufacturer specifications. Reconnect the wiring harness to the motor.
Pro tip: Before reassembling everything, test the motor by temporarily reconnecting the battery and pressing the window switch. If the window moves freely, the installation was successful.

Step 7: Reinstall the Window Glass and Door Panel
If you removed the glass, lower it back into the regulator track and secure it with the bolts. Remove any temporary tape. Reconnect the door switch wiring, carefully reattach the door panel, press the trim back into place, and tighten all screws.
Final Checks
Reconnect the battery and operate the window to confirm everything works correctly. Check for smooth operation, listen for abnormal noises, and verify the window reaches the full up and down positions. If needed, apply silicone spray to the window tracks for smoother movement.
Replacing a window regulator motor is a straightforward DIY project that can be completed in about 1–2 hours. With the right tools and a quality replacement part, you can restore full window function without a trip to the mechanic. Always consult your vehicle’s service manual for model-specific procedures, and follow proper safety precautions throughout the job.
If you found this guide helpful, explore other DIY repair articles on our site. Whether you’re fixing rust holes, upgrading to LED lighting, or troubleshooting engine problems, our tutorials are designed to help you save money and keep your vehicle in top shape.