
Rust holes are more than just unsightly blemishes on your vehicle—they’re warning signs of structural degradation that, if left untreated, can spread and compromise the safety and resale value of your car or truck. Whether the damage stems from road salt, moisture, or neglect, repairing rust holes properly is essential for long-term results.
This guide walks you through a professional-grade method to repair rust holes correctly, ensuring durability, safety, and aesthetics.
Step-by-Step Guide: How to Properly Repair a Rust Hole
1. Assess and Prepare the Area
Begin by evaluating the extent of the rust. Tap around the hole to check how far the corrosion has spread beneath the paint. Once you’ve outlined the affected area, mask off the surroundings to protect the rest of the vehicle from debris and overspray.
Use an angle grinder with a flap disc to remove all rust and paint surrounding the hole. If you don’t already own one, the DEWALT DWE402 4-1/2-Inch Angle Grinder is a reliable choice for precision and power in auto bodywork.
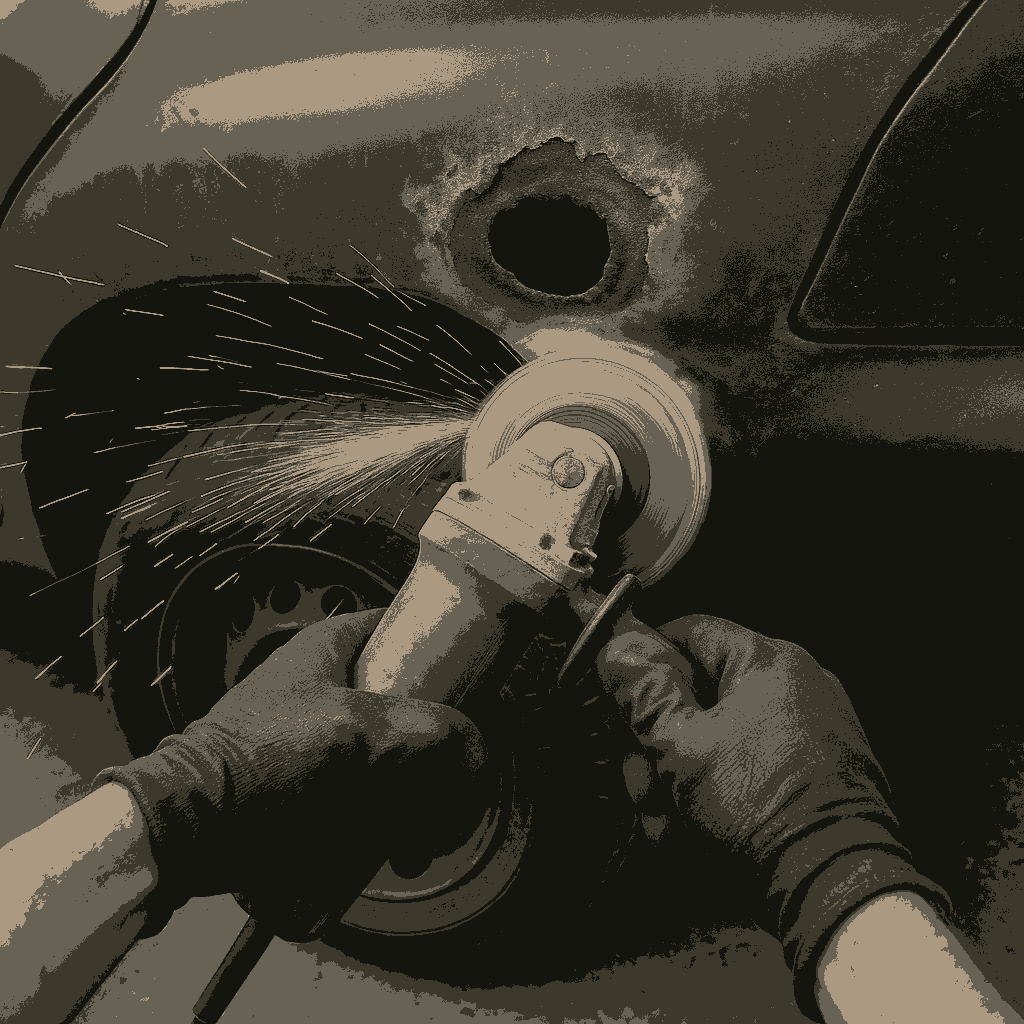
After grinding down to bare metal, use a wire brush and a rust converter to ensure all remaining corrosion is neutralized. Let it dry completely before moving on.
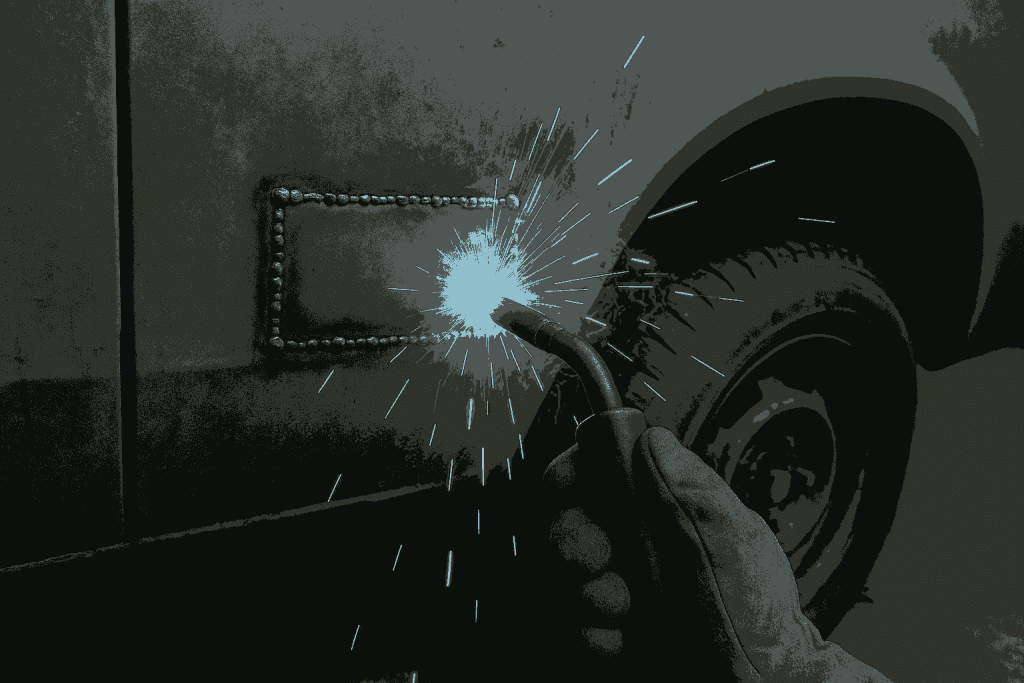
2. Cut and Fit a Metal Patch
For holes larger than a quarter in diameter, applying body filler alone is not enough—you need structural support. Use sheet metal to create a custom patch that fits the hole snugly. Cut it to size using metal shears, then shape it to the vehicle’s curvature with a mallet and dolly if needed.
Weld the patch into place using a MIG welder for best results. If welding isn’t an option, you can use metal bonding adhesive as an alternative, although it sacrifices some strength. Make sure the patch is firmly secured and sealed around all edges.
3. Apply Body Filler Smoothly
Once the metal patch is in place and cool, sand the welded or bonded area smooth. Then, mix and apply a thin layer of body filler like Bondo Gold Filler, which is specifically formulated for automotive metal surfaces and sands easily for a professional finish.
Apply in thin layers, building up as needed and shaping with a plastic spreader. Let each layer cure completely before sanding it smooth with 80-grit followed by 180-grit sandpaper. The final surface should blend seamlessly into the surrounding metal.

4. Prime and Paint the Repaired Area
After sanding, wipe the area with a wax and grease remover to eliminate any contaminants. Then apply an etching primer to bare metal, followed by a high-build primer over the filler. This ensures proper adhesion and fills in any fine scratches.
Once the primer is dry, sand it with 400-grit paper to level the surface. Then, apply base coat paint that matches your vehicle’s OEM color. The Dupli-Color Perfect Match Automotive Paint line offers a wide range of factory-matched colors in convenient aerosol cans for easy blending.

Finish with a few coats of clear coat, allowing each layer to dry per manufacturer instructions. After 24–48 hours of curing, you can polish the surface to restore gloss.
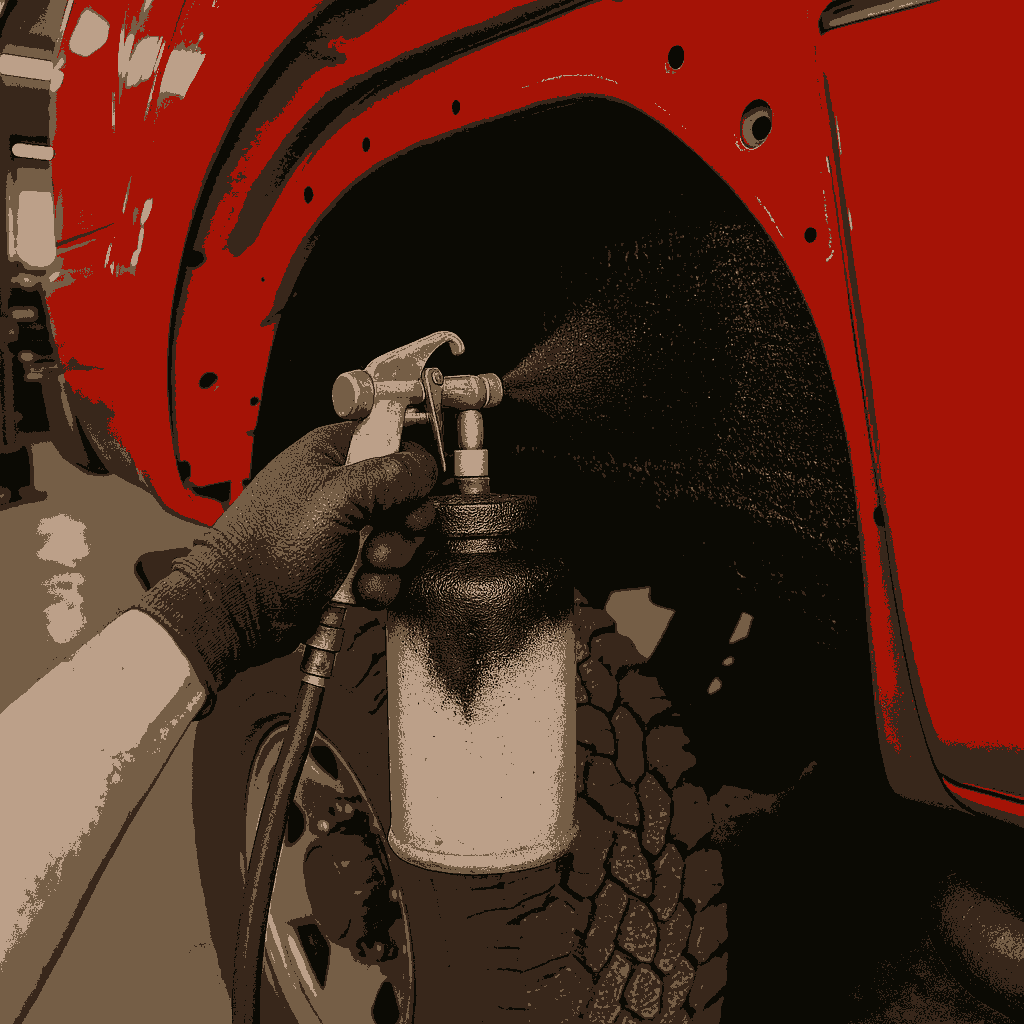
5. Protect Against Future Rust
The final step is protecting your hard work. Apply a rust preventative undercoating or sealant to the inside of the repaired panel, especially if it’s in the wheel well or lower rocker panel. 3M Professional Grade Rubberized Undercoating is ideal for this purpose, offering long-lasting protection from moisture and road debris.
Repairing a rust hole in your car or truck requires precision, patience, and the right materials. Cutting corners can result in rust returning or even spreading, ultimately costing more in repairs down the line.
Related Articles
For a comprehensive vehicle restoration, don’t stop at rust holes. Check out our step-by-step articles on How to Repair Wheels with Curb Rash and Scratches and How to Remove and Paint Undercarriage Rust Using Krud Kutter.