
Rust is one of the most common and destructive problems affecting vehicle undercarriages, particularly in regions that experience snow, rain, or coastal humidity. Left untreated, rust can eat through frame components, fuel lines, brake lines, and other critical parts, eventually compromising vehicle safety and resale value.
Fortunately, addressing undercarriage rust doesn’t always require a trip to a professional shop. With the right products and a methodical approach, you can eliminate rust, protect the bare metal, and restore the integrity of your vehicle—all from your driveway.
This article will walk you through how to remove undercarriage rust using Krud Kutter Rust Remover, clean the surface, and apply protective paint to ensure long-term defense against corrosion.
Step-by-Step Guide to Removing and Painting Undercarriage Rust
1. Safety First and Prep Work
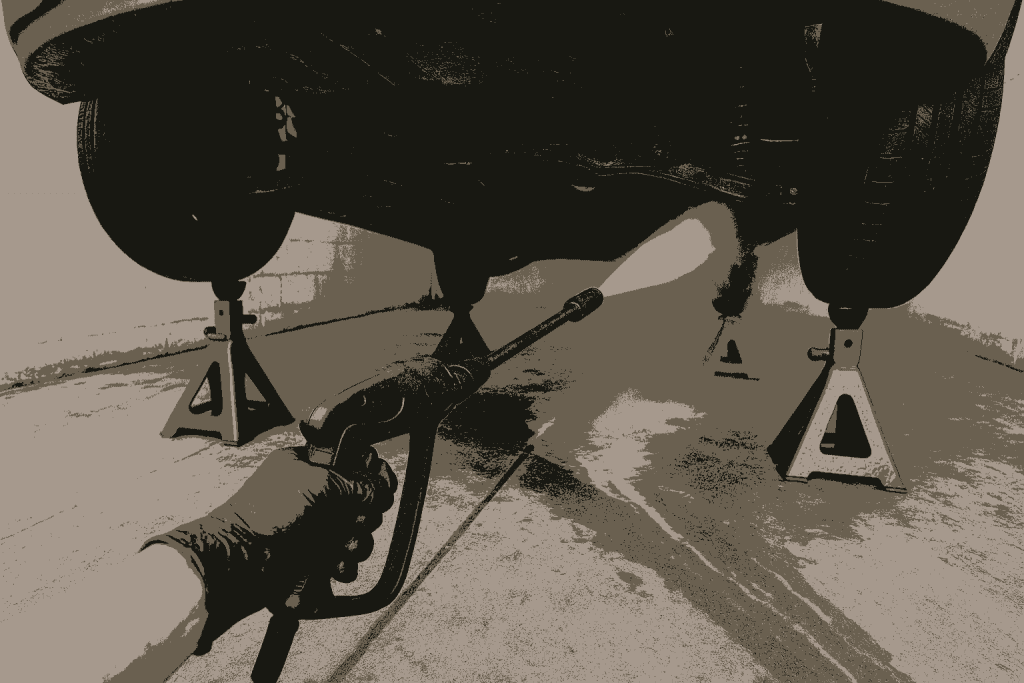
Before beginning, ensure your vehicle is parked on a level surface. Use wheel chocks for added stability, and jack the vehicle up securely using jack stands. Wear safety goggles, a respirator, and gloves throughout the process, as you’ll be working with chemicals and airborne debris.
Start by pressure washing the undercarriage to remove built-up dirt, mud, salt, and grease. Allow the surface to dry completely before moving to the next step.
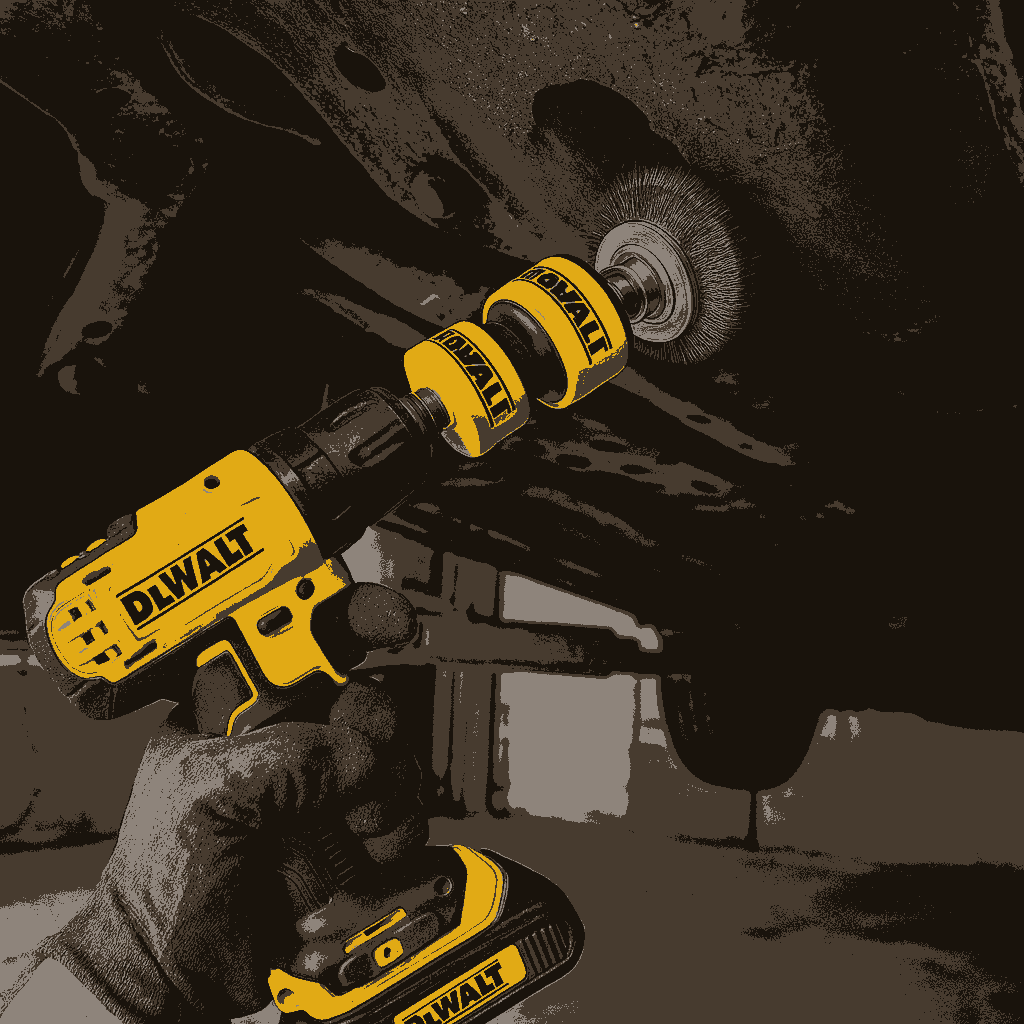
2. Remove Loose Rust and Flaking Paint
Use a DEWALT Wire Brush Drill Attachment Kit to aggressively strip away surface rust, old paint, and scale. This kit attaches directly to a power drill and makes quick work of even stubborn rust deposits. Focus on affected areas but ensure you feather the edges to blend with surrounding clean metal.
For tight or awkward corners, hand tools like wire brushes and sandpaper may be necessary. Vacuum or wipe down any rust particles before proceeding.
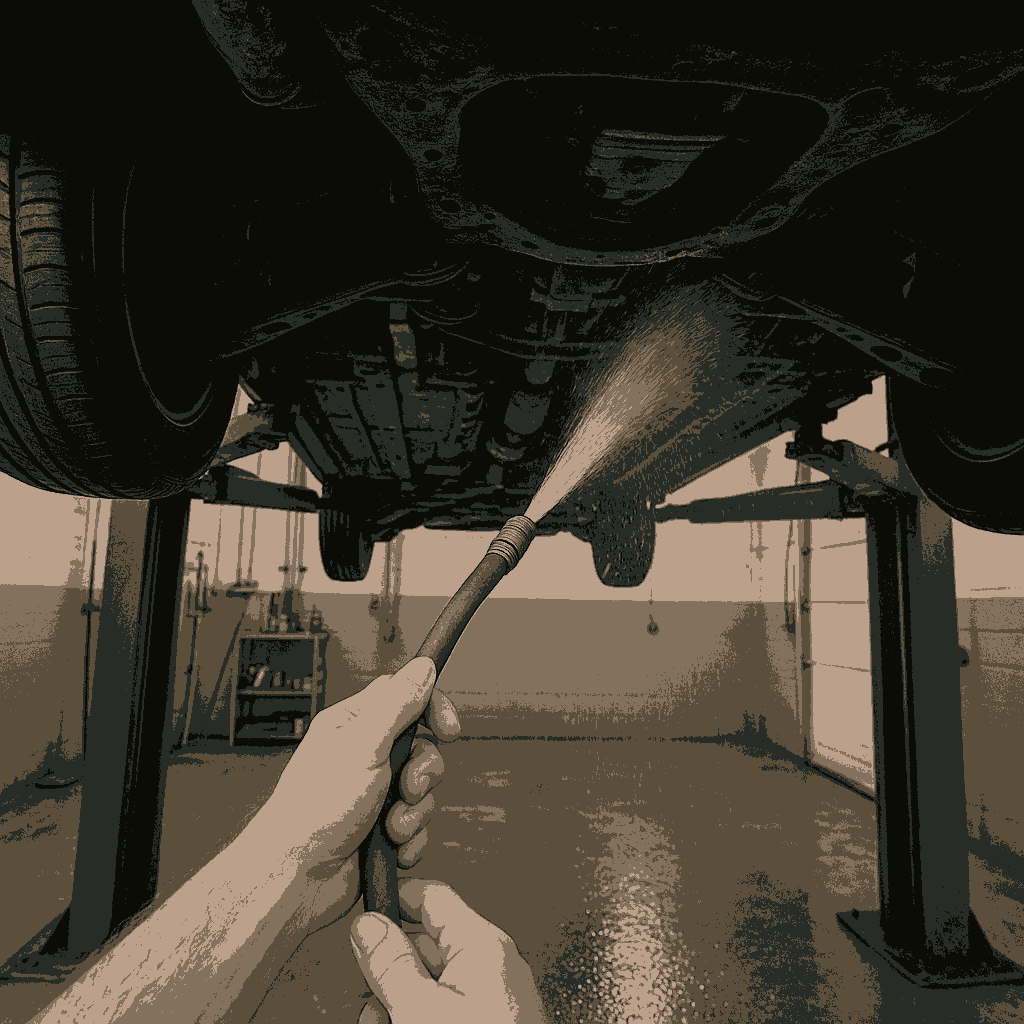
3. Apply Krud Kutter Rust Remover and Inhibitor
Once the loose material is gone, apply Krud Kutter Rust Remover & Inhibitor generously across the prepped areas. This water-based solution chemically converts rust into a stable surface while leaving behind a protective coating that helps prevent future corrosion.
Spray it on with a pump sprayer or apply with a brush for controlled coverage. Let it dwell per the manufacturer’s instructions—typically around 30 minutes to an hour. You’ll notice the rust changing color as the chemical reaction occurs.
After the application period, rinse the treated areas with water and allow them to dry thoroughly. Do not skip this step; any residue left behind can interfere with primer adhesion.
4. Prime the Surface
To ensure maximum adhesion and rust protection, it’s critical to prime the metal before painting. Use a high-quality automotive primer like Rust-Oleum Professional Primer Spray Paint. This oil-based primer offers strong corrosion resistance and is suitable for both bare and treated metal.
Apply in thin, even coats, allowing sufficient drying time between layers. Focus on coverage—every exposed metal surface should be protected. Allow the primer to cure as directed before moving on to painting.
5. Paint the Undercarriage
For the final coating, choose a durable topcoat specifically designed for automotive use. POR-15 Top Coat Chassis Black Paint is an excellent option. It’s formulated for direct-to-metal application and offers superior chip, chemical, and moisture resistance—perfect for high-impact areas like the undercarriage.
Apply using a brush, roller, or spray can, depending on your access and preference. Apply at least two coats for optimal protection. Allow each coat to dry thoroughly before applying the next.

6. Final Inspection and Touch-Up
Once everything is dry, inspect your work under good lighting. Look for any missed spots, light patches, or areas that need extra attention. Touch up as needed, then remove all tools and lower the vehicle.
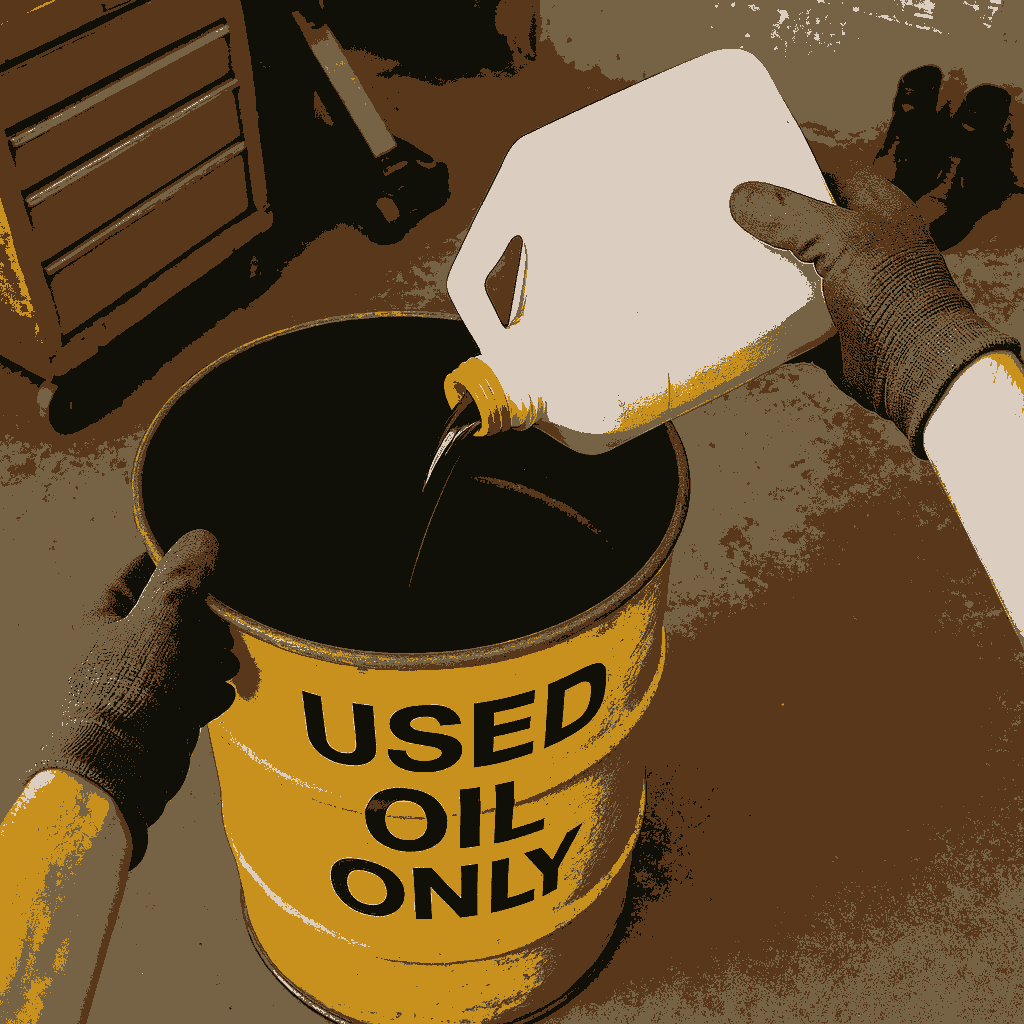
Dispose of any hazardous waste, like used rags and chemical containers, in accordance with local regulations.
Conclusions
Removing undercarriage rust and painting it properly is one of the most effective ways to prolong the life of your vehicle.
By combining mechanical rust removal with Krud Kutter Rust Remover & Inhibitor, priming with Rust-Oleum Professional Primer, and finishing with POR-15 Top Coat, you ensure a layered defense that resists future corrosion and harsh driving conditions.
Taking the time to address undercarriage rust now can prevent costly structural repairs down the line. Best of all, this job can be done at home in a weekend with minimal equipment and a bit of determination.
Looking to take on more DIY automotive projects? Check out our other detailed guides. These articles are packed with actionable steps and trusted product recommendations to help you keep your car in peak condition, all without leaving your garage.